How to measure your flexibility
Know what you need to improve...
So, how do you go about identifying poor flexibility? Firstly, if you don’t feel comfortable assessing your own movement, it’s definitely worth paying a visit to a qualified professional to complete a movement assessment or to discuss a particular issue you are having.
If you want to have a go yourself, I will describe how I assess the most common issues.
My process is this:
1. Ask questions on previous injuries or issues I should be aware of.
2. Standing (or sitting) posture: Checking to ensure the left side is equal to the right from the side, front and behind the athlete.
3. Range of motion: Single joint ranges for specific areas – in most cases reflected by posture.
4. Movement analysis: are problems seen in the previous two an issue when moving.
ANKLE
There’s a bit of debate of where to start with movement, either the head down or the feet up. I prefer the feet up approach because a few quick wins here can have a dramatic impact on movement efficiency, and I’ve found the quickest to occur at the ankle.
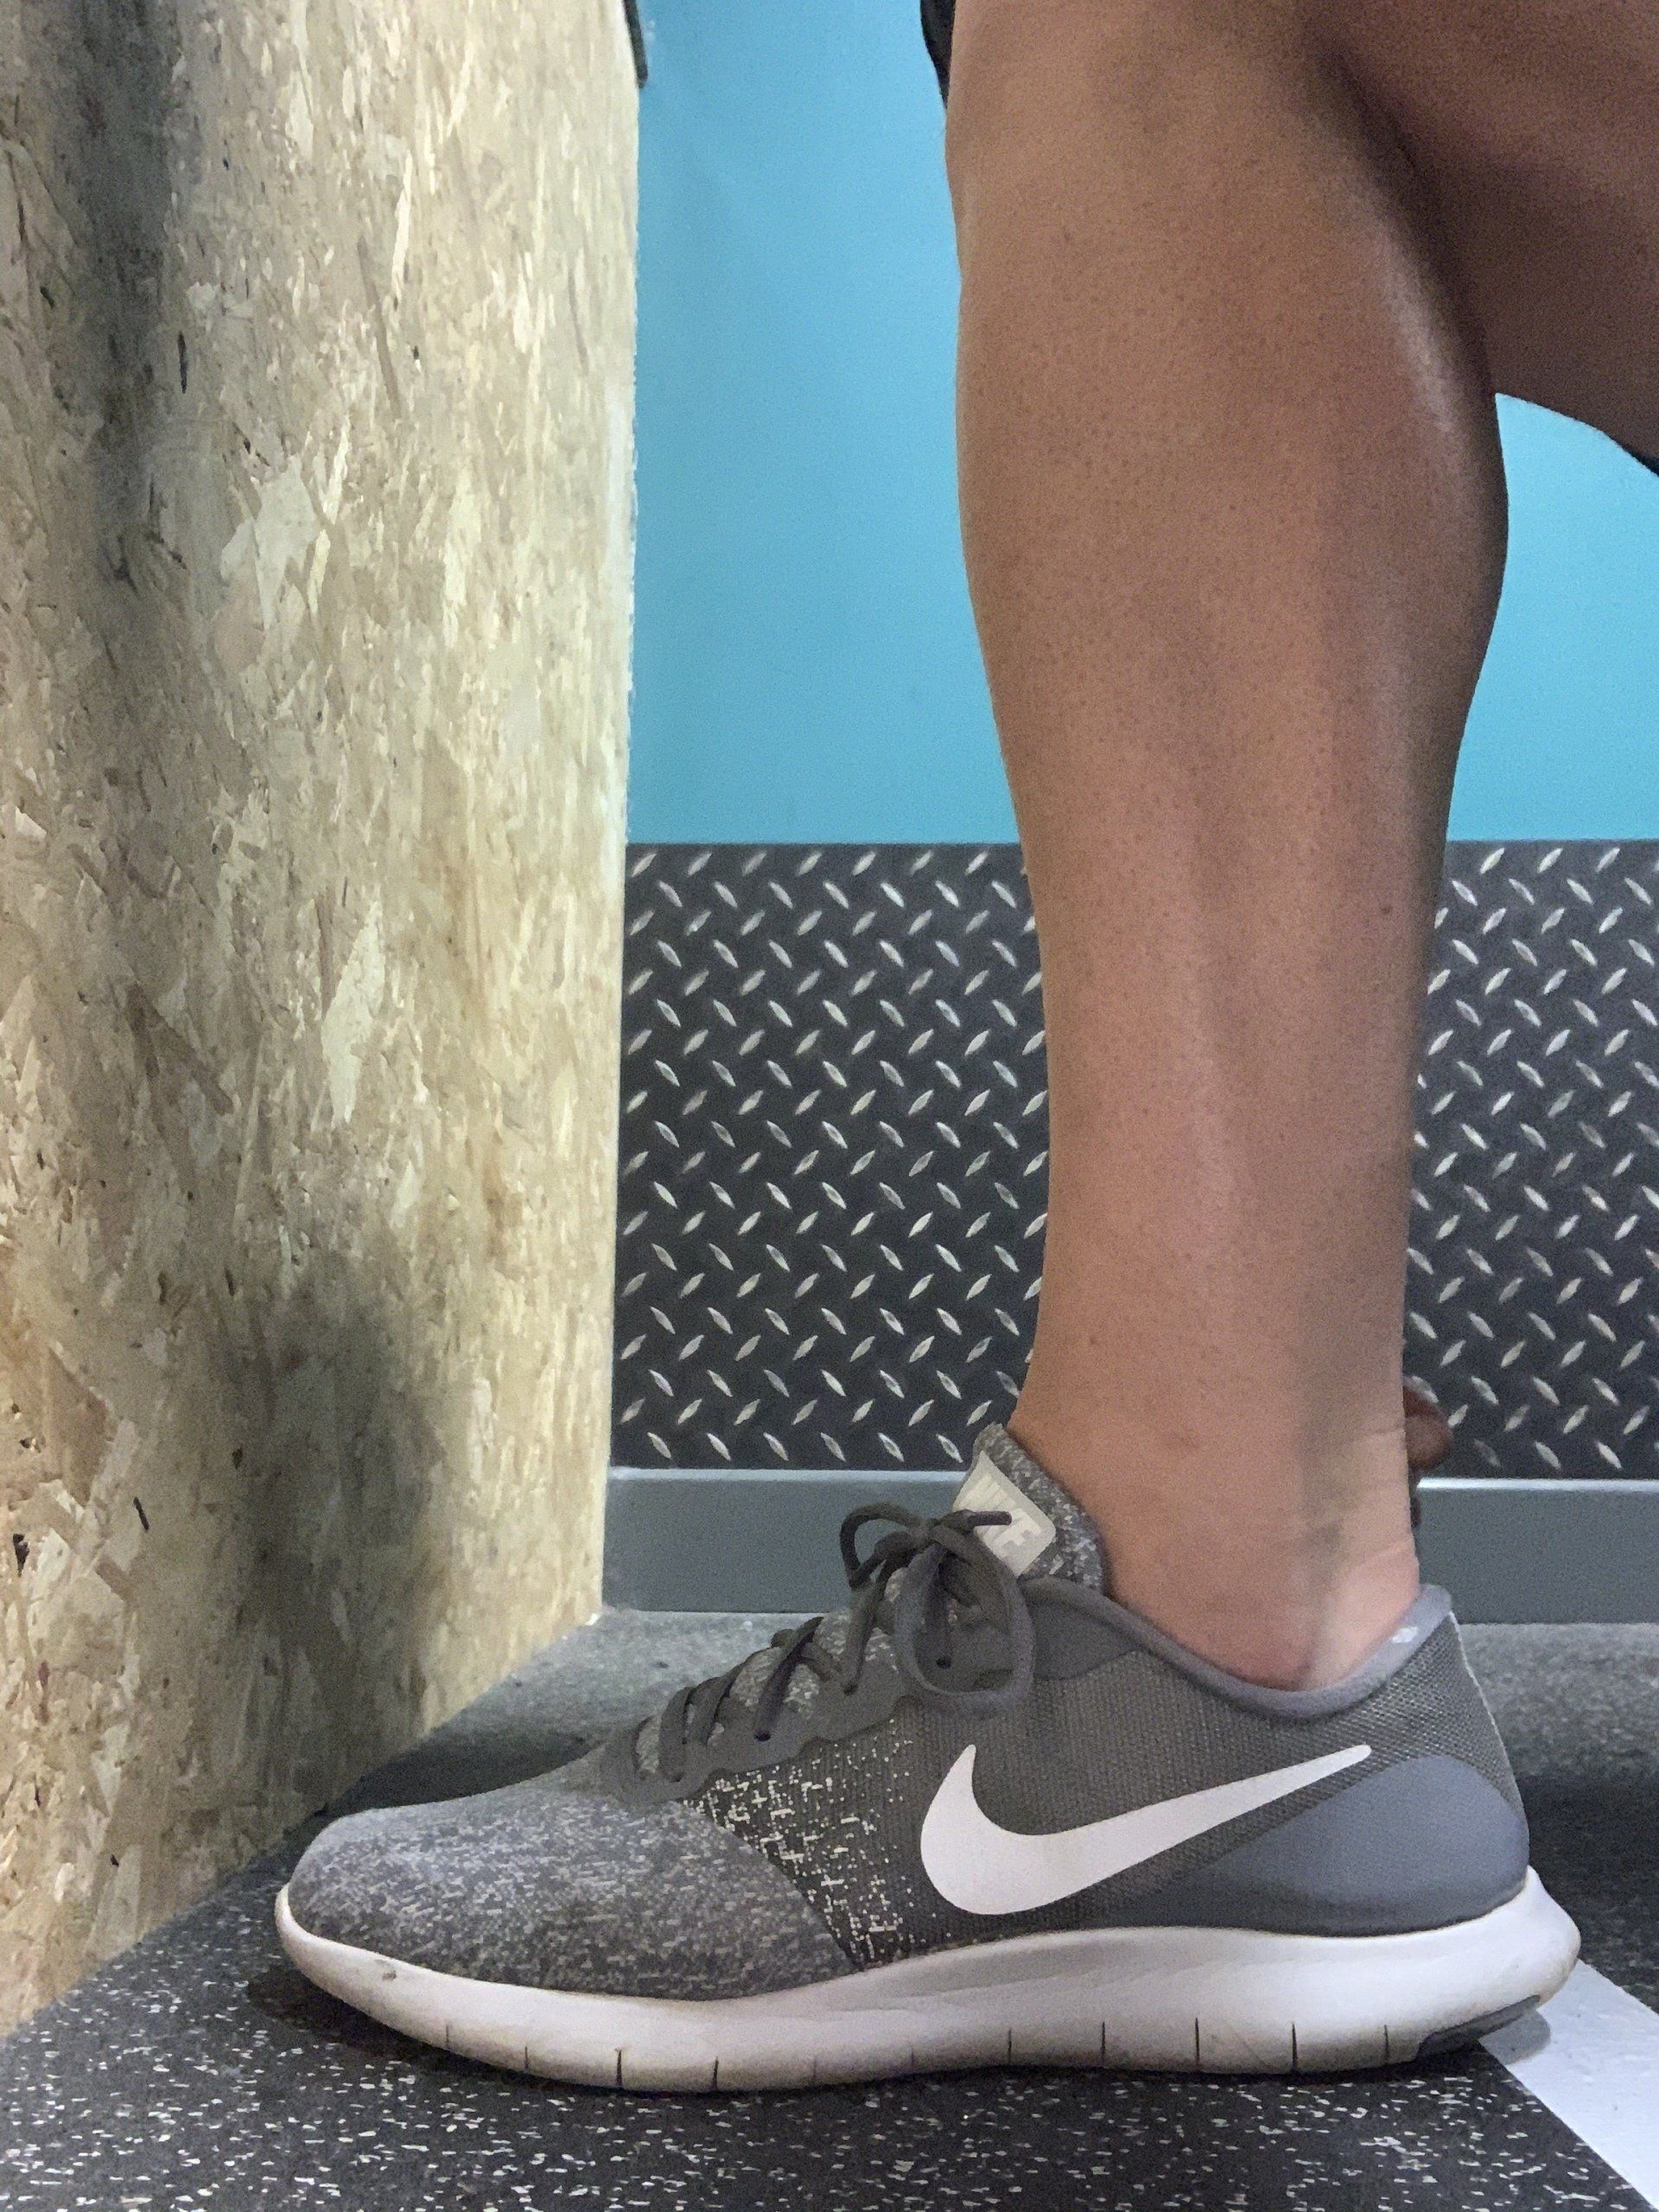
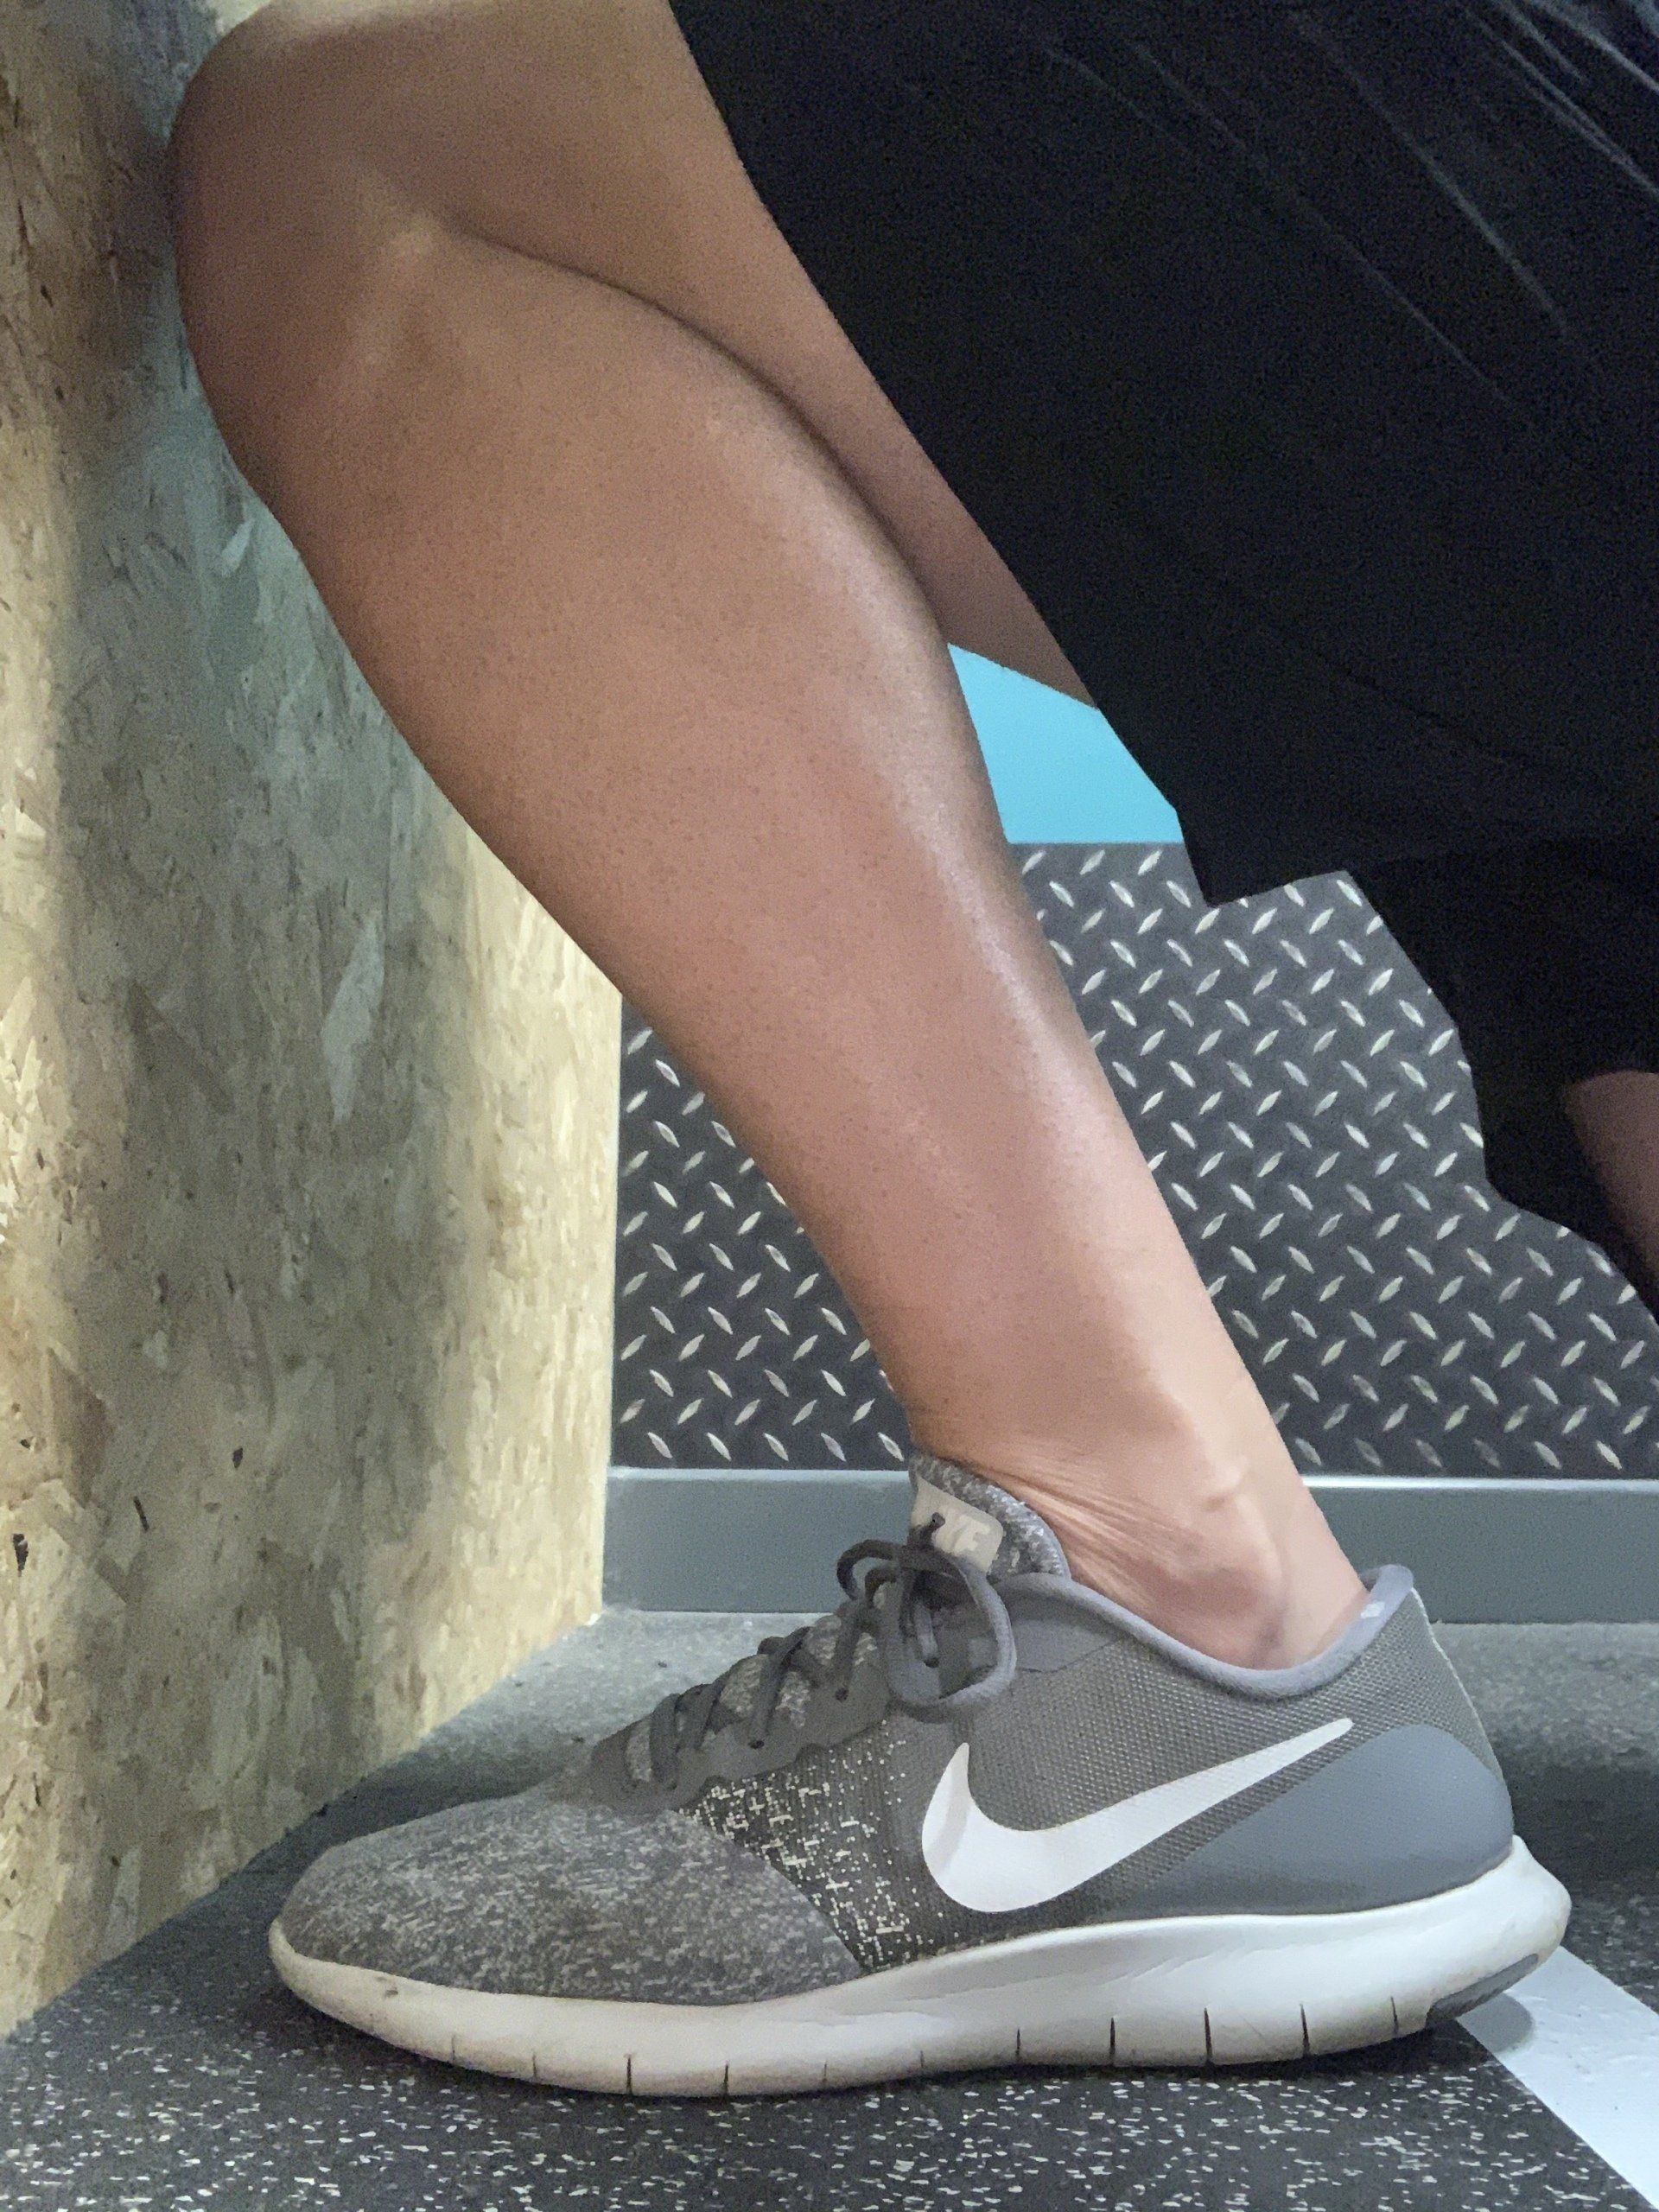
In order to have enough flexibility to get into a safe and effective squat position (whether it be on one or two legs) a sufficient amount of movement is required at the ankle. Ideally, this is around 7 degrees from neutral. Neutral being a 90 degree angle between the sole of the foot and the shaft of the lower leg.
Alternatively, in a kneeling position and using a tape measure and a wall, you should be able to get your knee to touch the wall with your heel staying on the floor with between a 5-8cm gap between your toes and the wall. Avoid using a wall with a skirting board for this.
In case of any confusion, see diagrams below:

KNEE
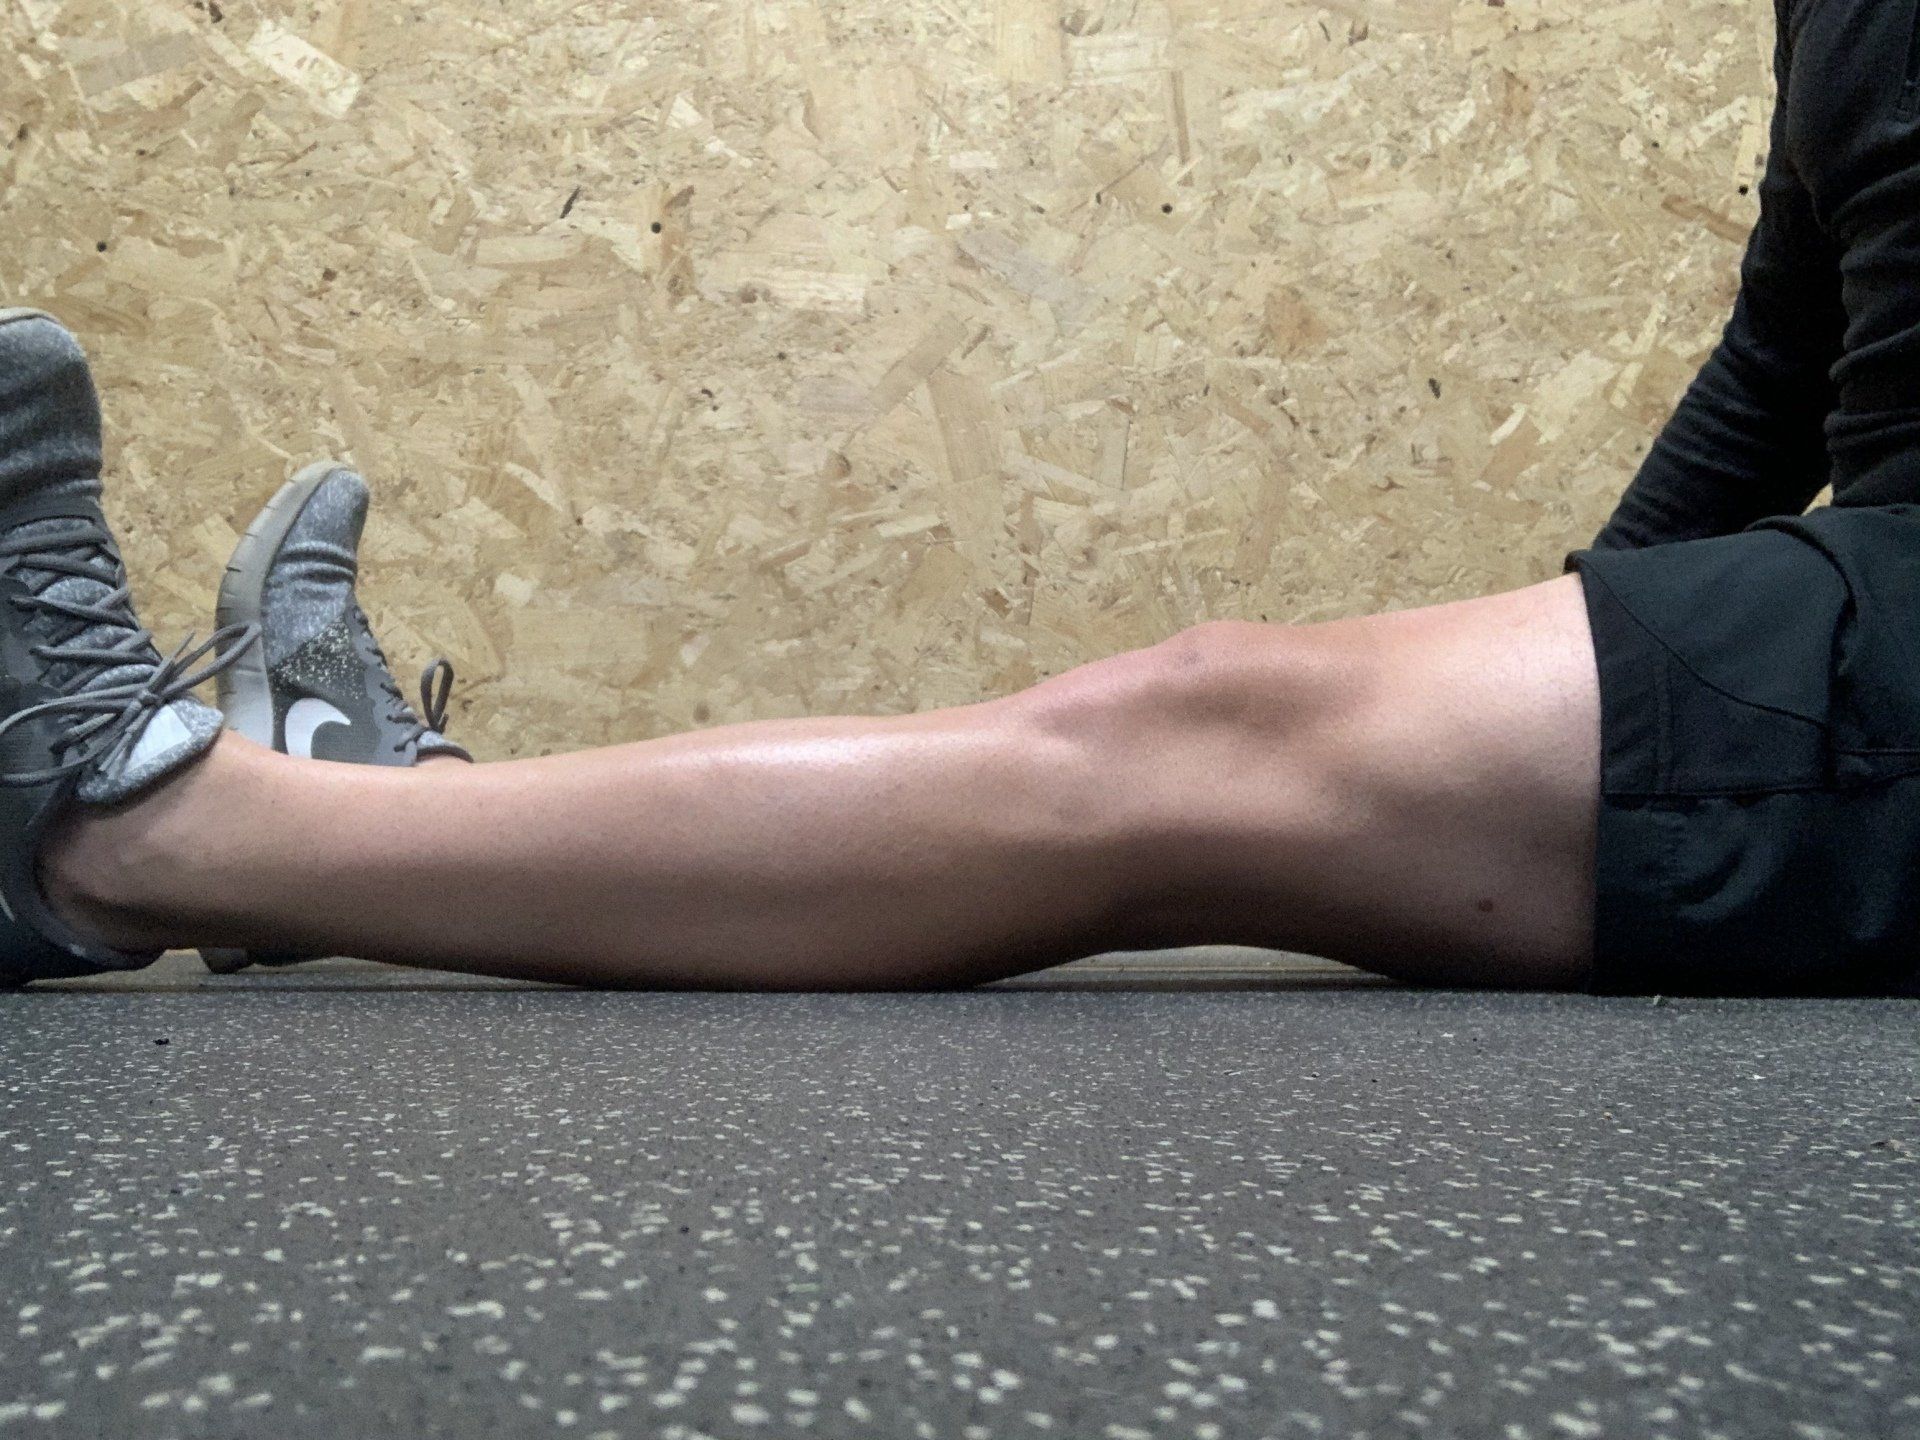
Generally, within a healthy knee (all structures intact) there is a good range of motion to be had. That is, extend your leg out in front of you whilst sitting up on a flat surface such as the floor and being able to tuck your fingers underneath your knee.
In terms of the other way, flexion, full range is at around 160-170 degrees, or bringing your heel to your glute in standing. To be honest, if you can get to a 90 degree angle at your knee that’s probably all you need.
Slightly more allows a more aero position on the bike, but I wouldn’t waste my time to get a few more degrees through hours of stretching in order to squat lower. Time is well spent in other ways.
Here's some examples of good knee extension and flexion:
HIP & PELVIS
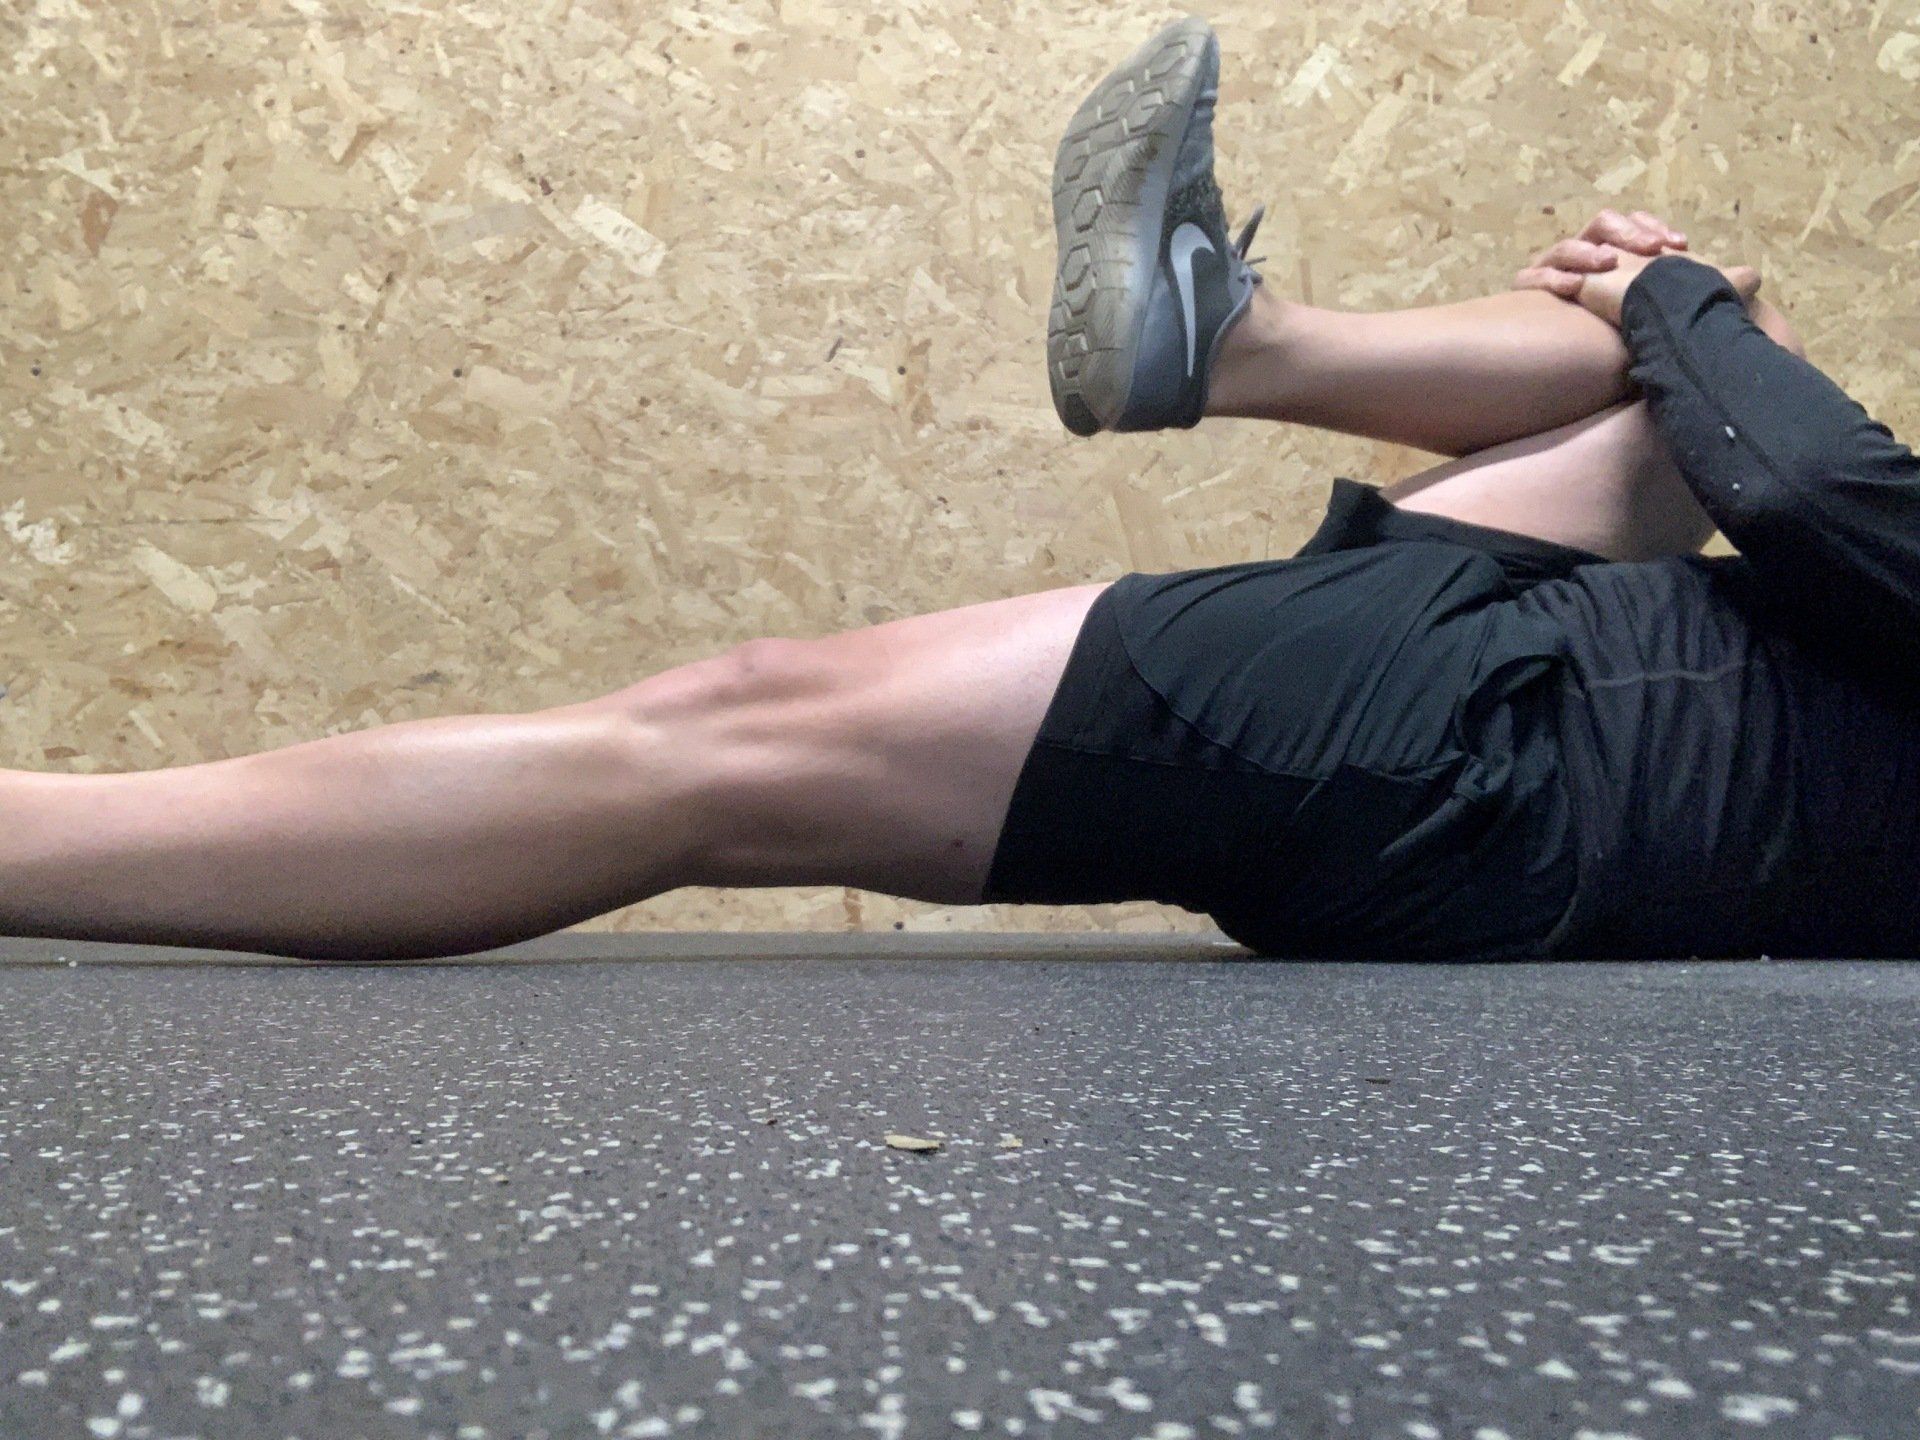
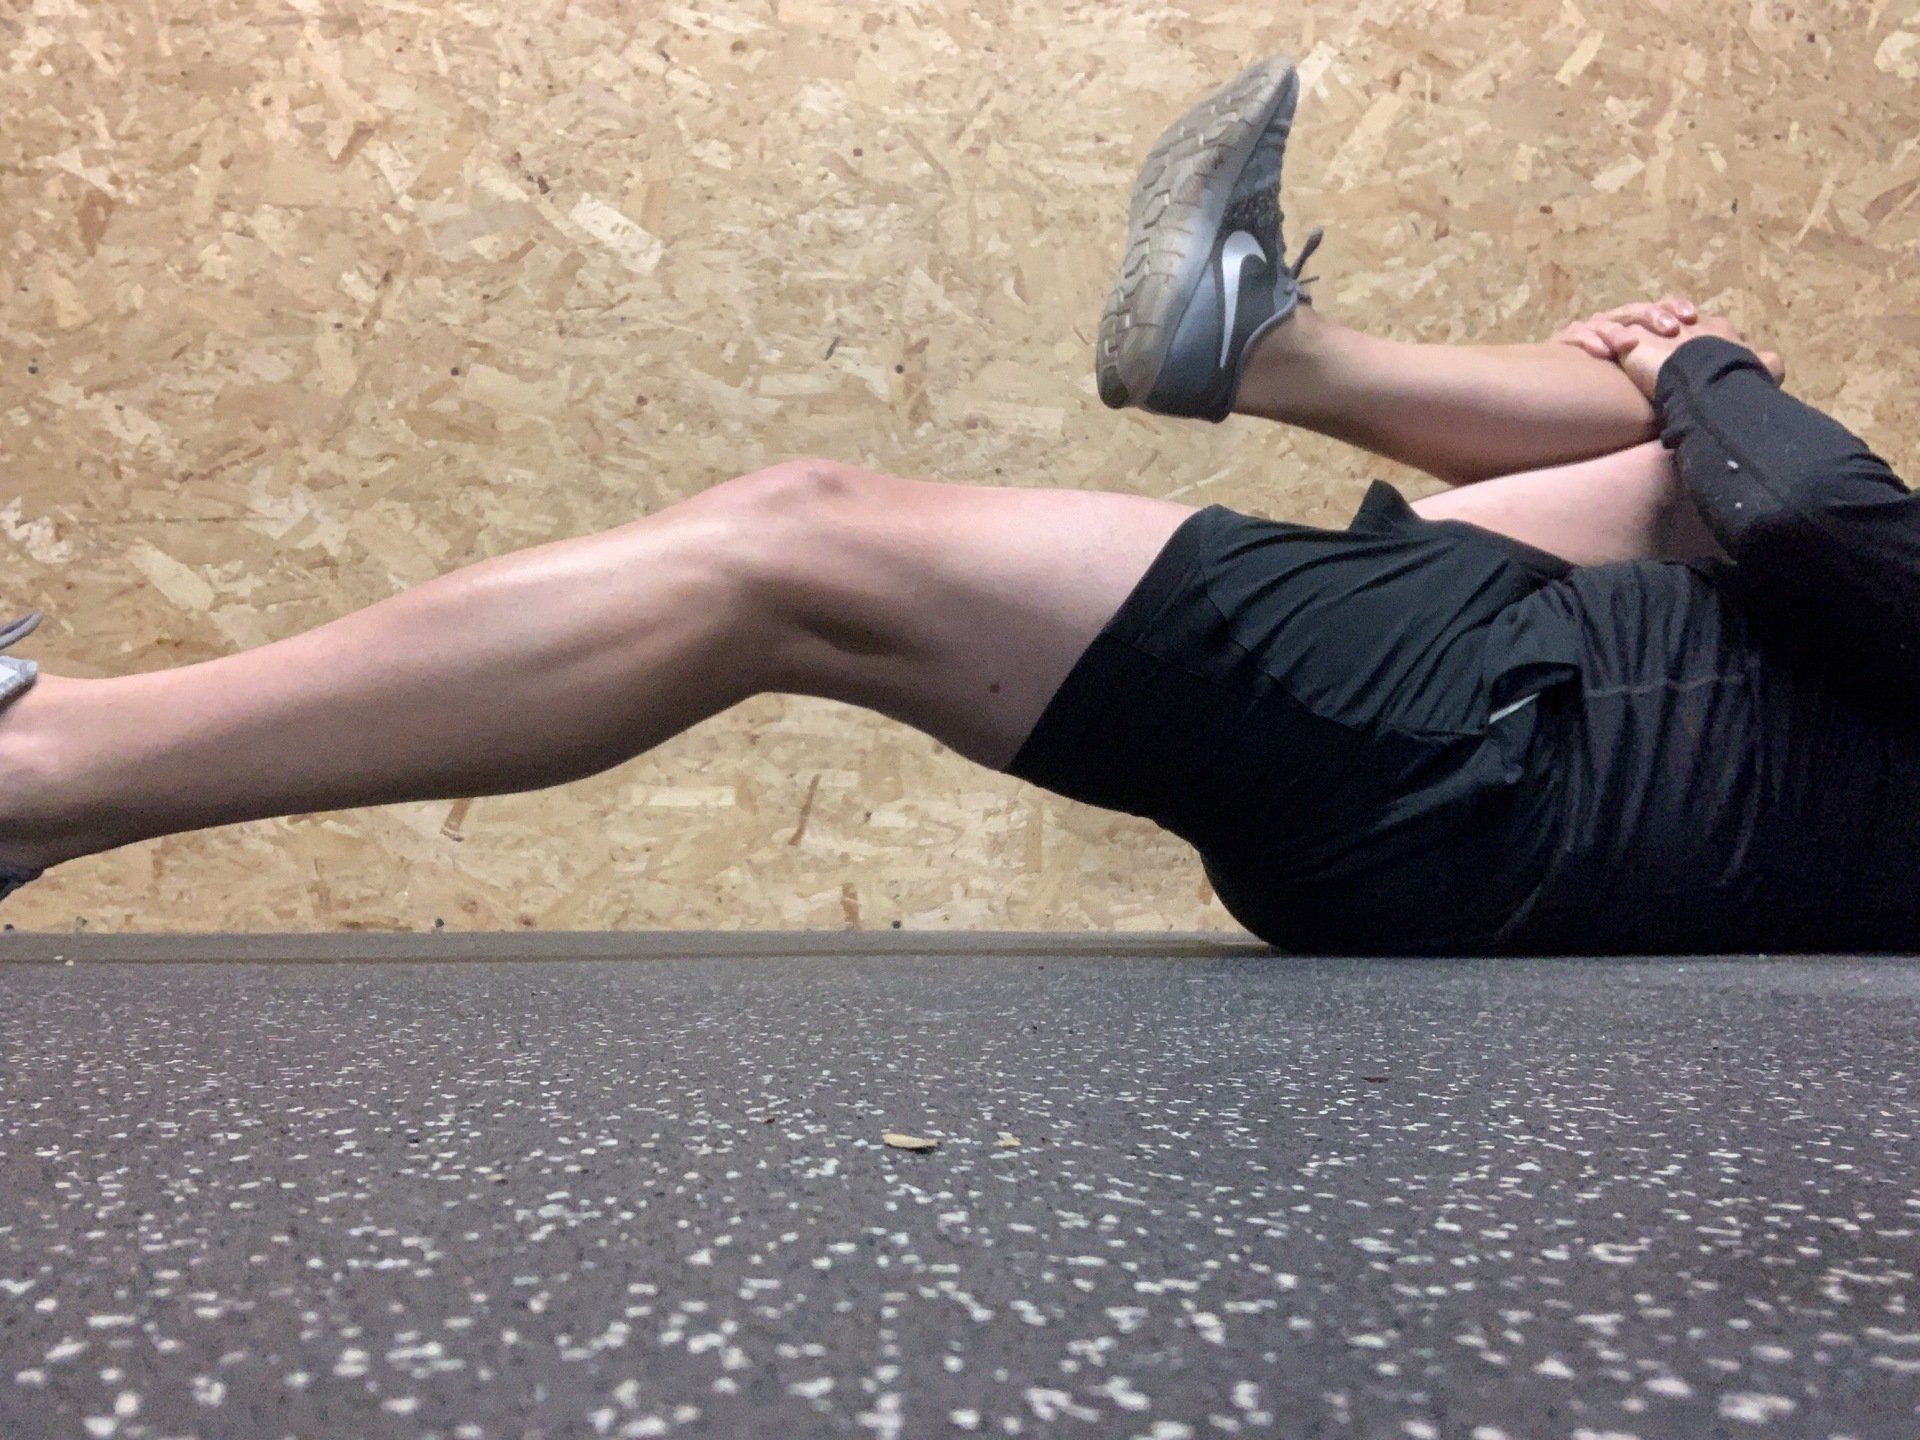
The biggest limitation I see with cyclists is hip extension. That is, keeping your leg straight and kicking your heel backwards whilst maintaining your back upright and not leaning forward.
This is caused because of spending time in a flexed hip position when cycling and further compounded by jobs that require sitting, driving, or relaxing on the sofa or all of the above.
Problems tend to arise when adding extra load to the back (such as squat variations), which then causes undue stress on the lower back. Maybe not immediately, but some point down the line if it’s not addressed properly.
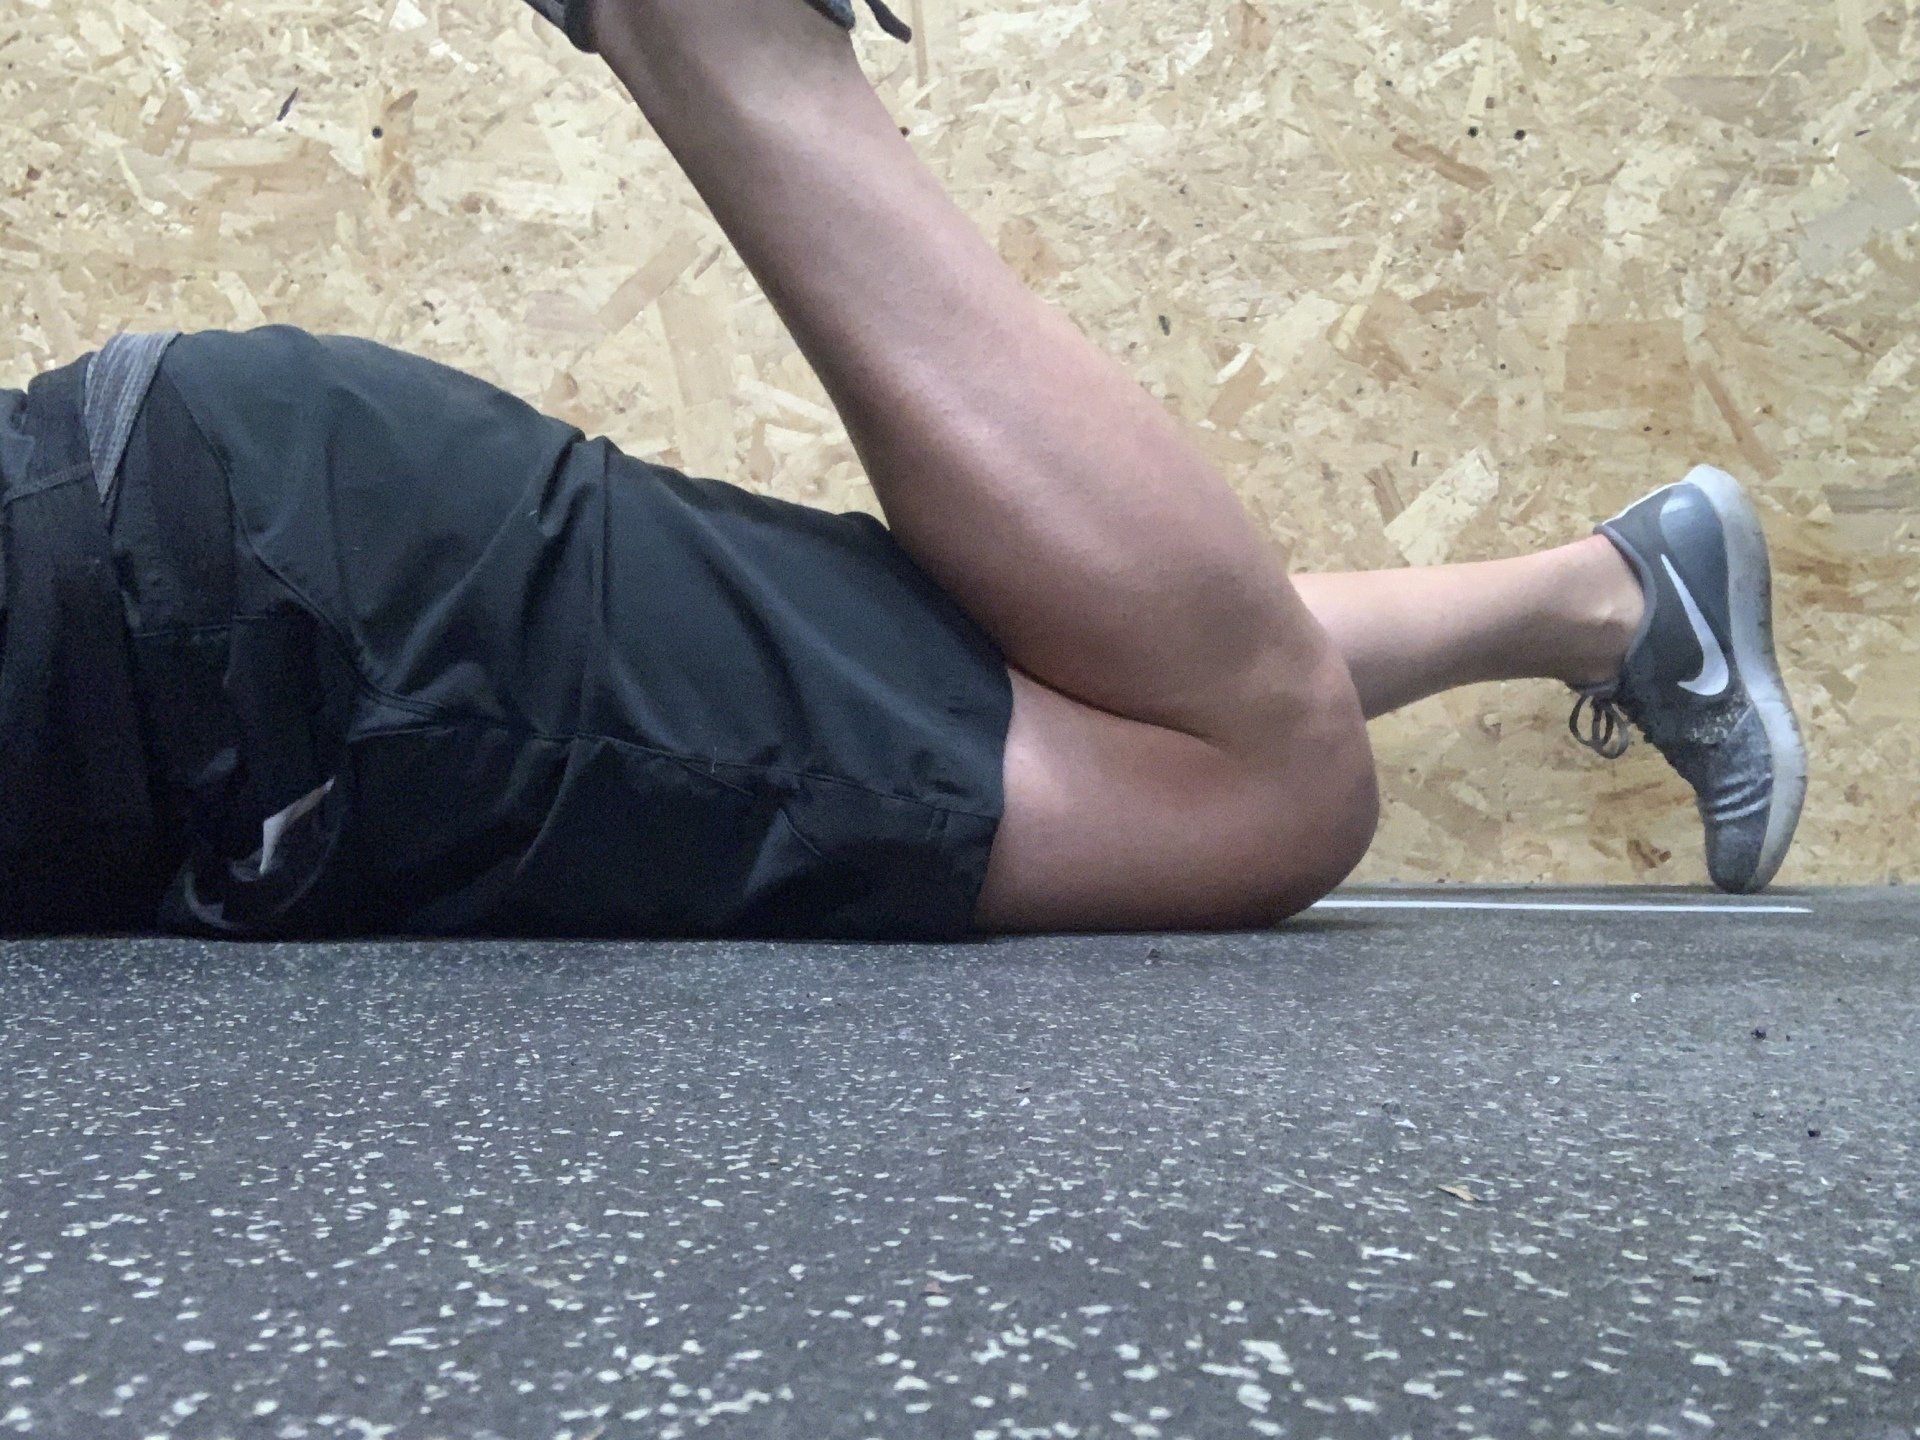
A good amount of flexibility with hip extension is around 5-10 degrees from straight, so not that much.
A way to measure this is lying on your back, bringing one knee to your chest, leaving the other outstretched and seeing if your knee stays relatively flat to the floor. If it lifts so that you can get your fist underneath it, you probably need some work in that area.
Here’s some diagrams of positioning:
Left diagram is what I'm looking for and the right is incorrect - aim to keep the back of your knee on the floor
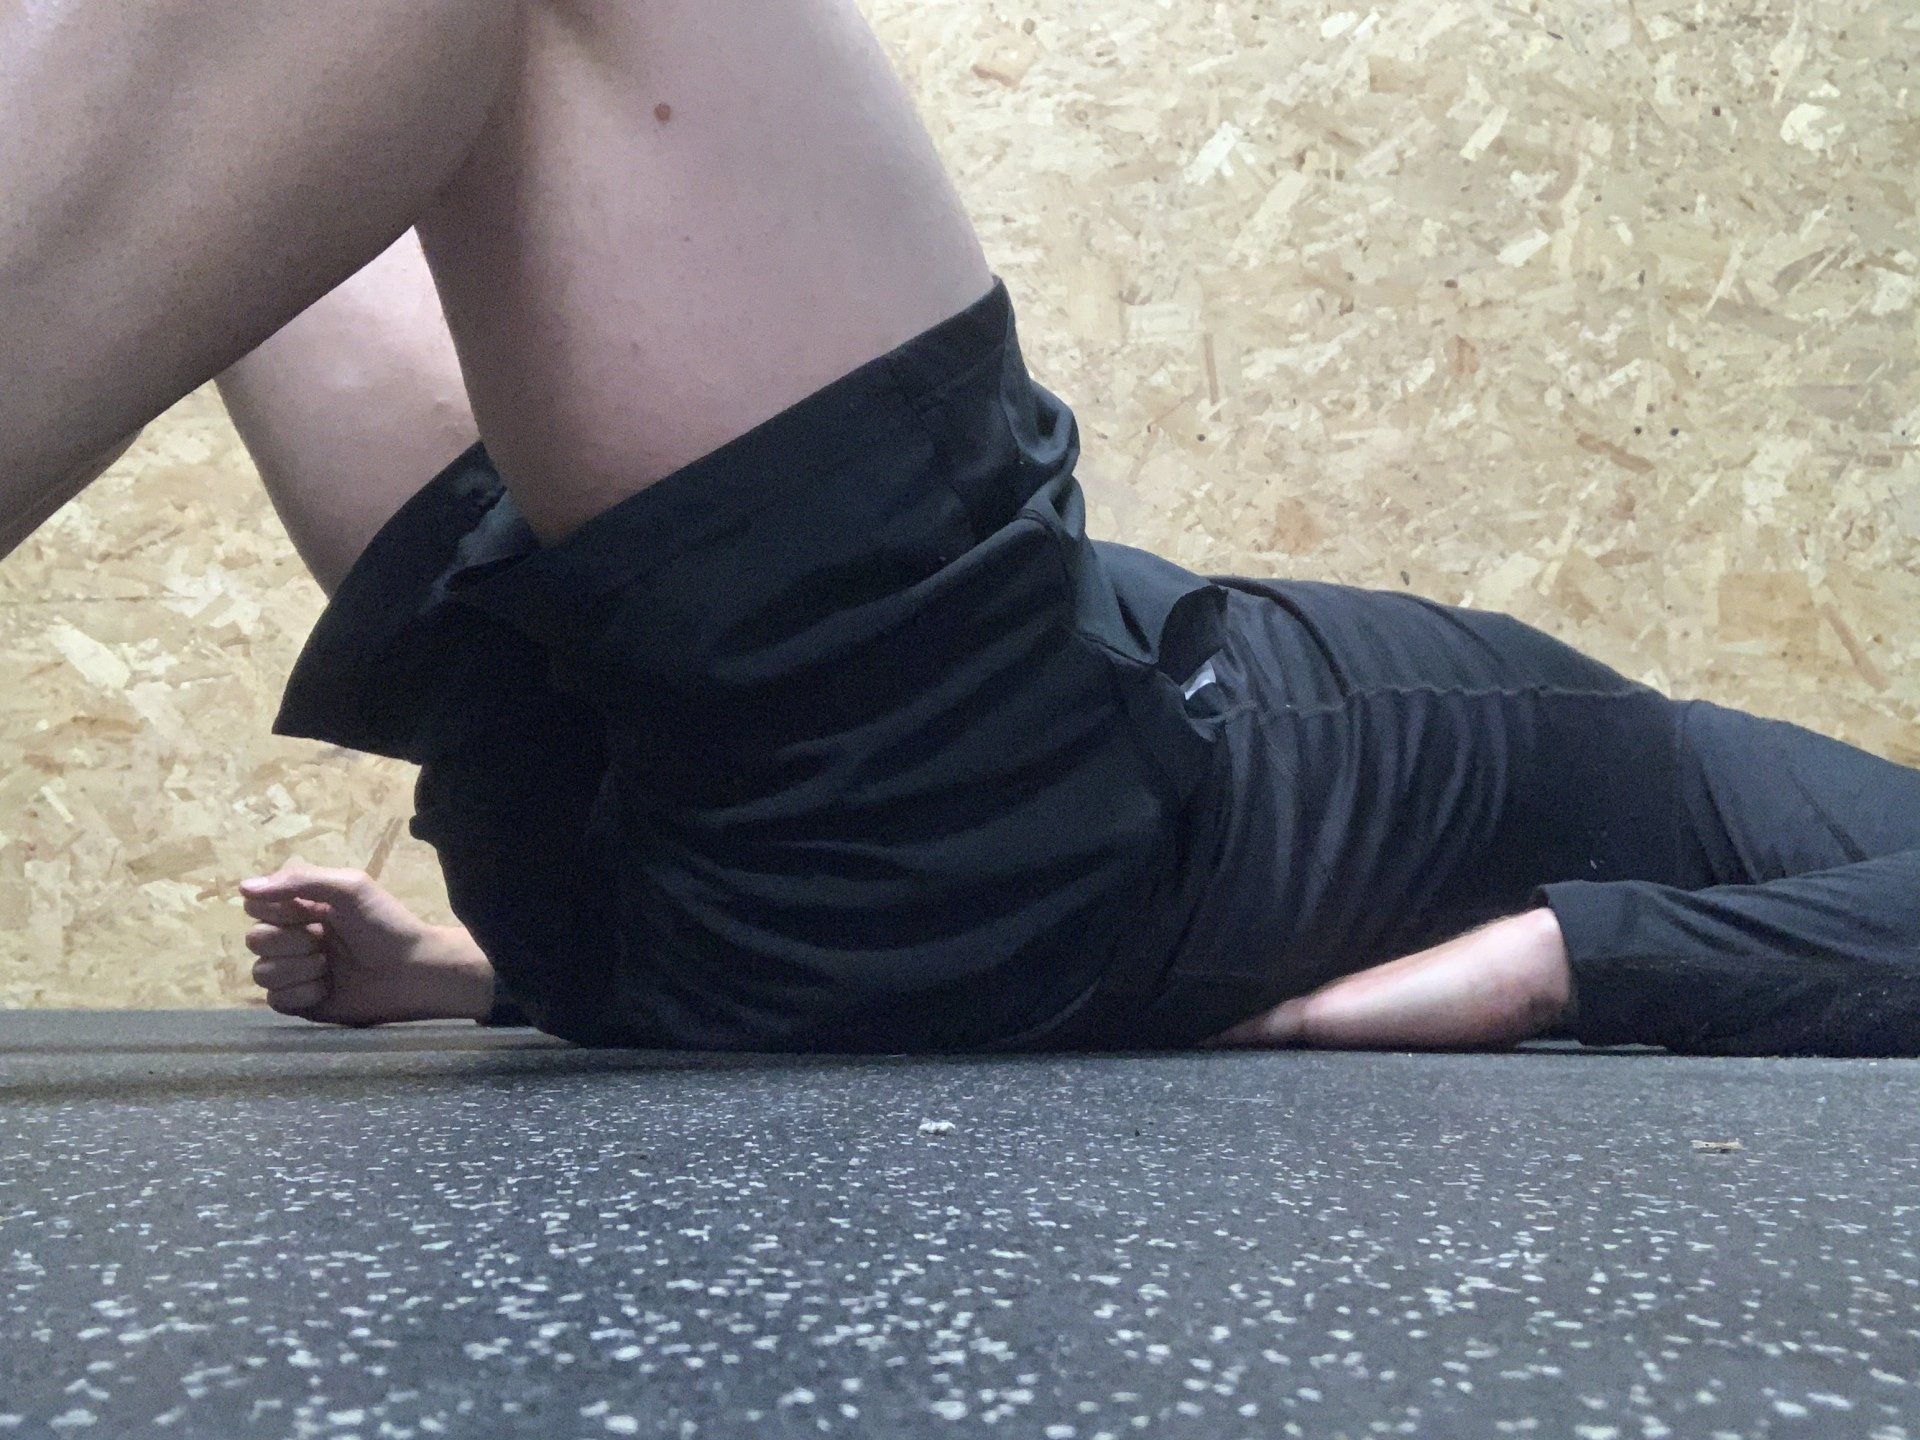
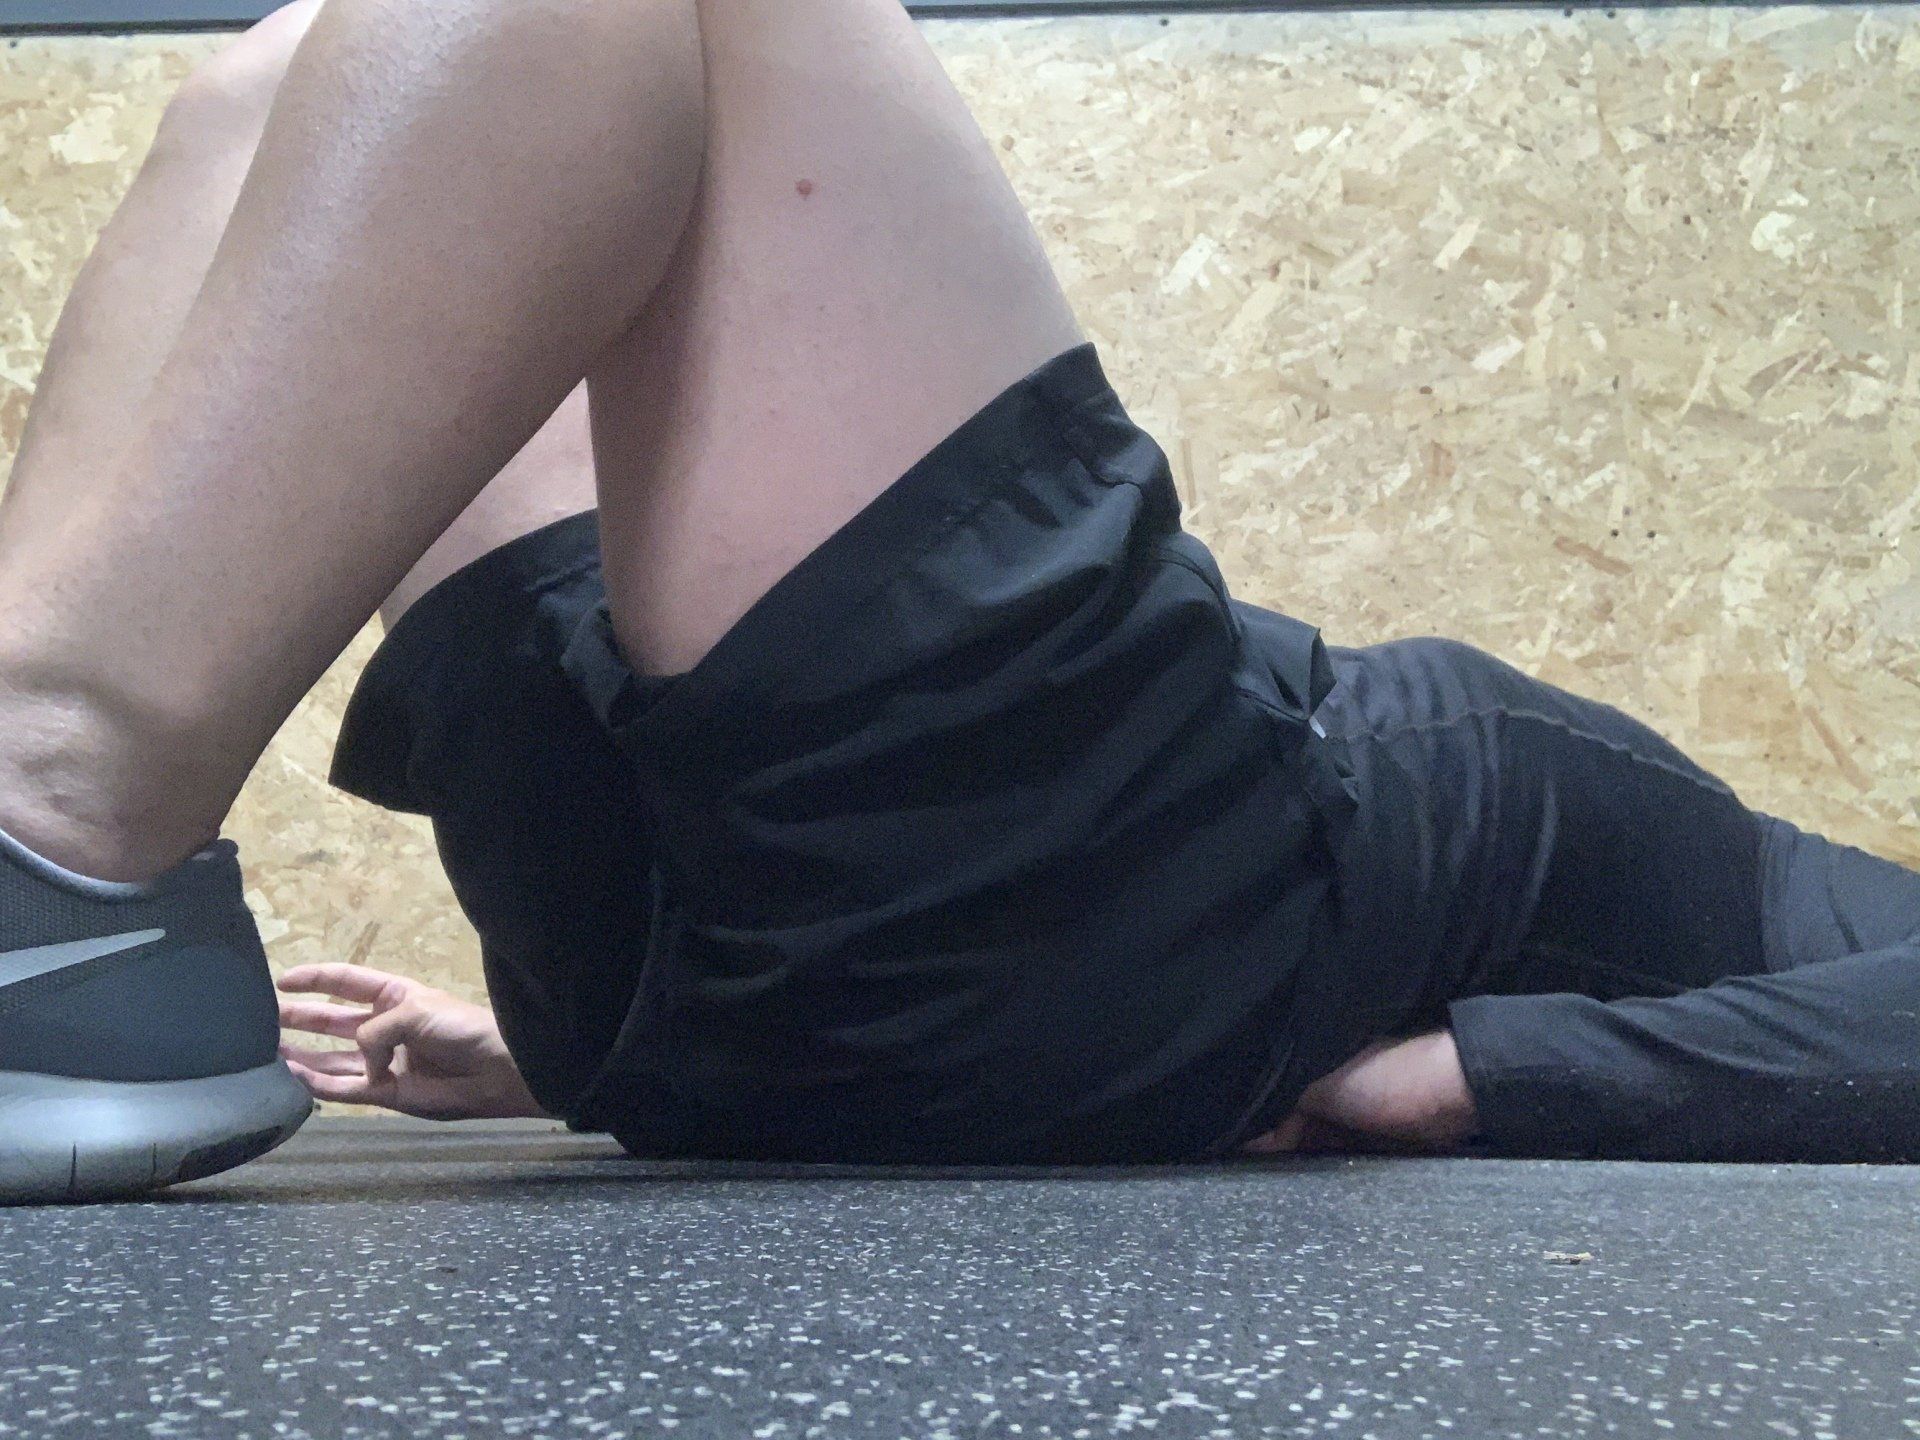
Lower back
Often the outlet for pain, but not the cause from a flexibility standpoint. Reduced flexibility in this area can be due to a lack within the hip flexors. They are connected via what’s known as the kinetic chain, or overlapping muscles that prevents any weak points with regards to movement.
While lying on your back with knees bent, being able to fit half a fist under your lower back and then rolling down to squash your fingers would generally be enough.
In terms of rotation (we want to prevent this for cycling) there should be around 5 degrees when sitting and rotating your shoulders left and right, as if you are trying to look behind you.
Here’s some diagrams of positioning:
SHOULDERS
A complex area due mainly to the lack of contact between the bony surfaces within the main shoulder joint allowing a large range of motion. I mention this area because it’s often forgotten when designing cycling training programmes.
Why work on the upper body when it’s a lower body sport?
Stability, to pull on the bars, to maintain space in tight groups (shoulder to shoulder) and also to prevent injury or recover from it.
Now, I could write an entire article on shoulder health for cyclists. So just believe me when I say, shoulder flexibility is important and loaded upper body exercise for cyclists is useful.
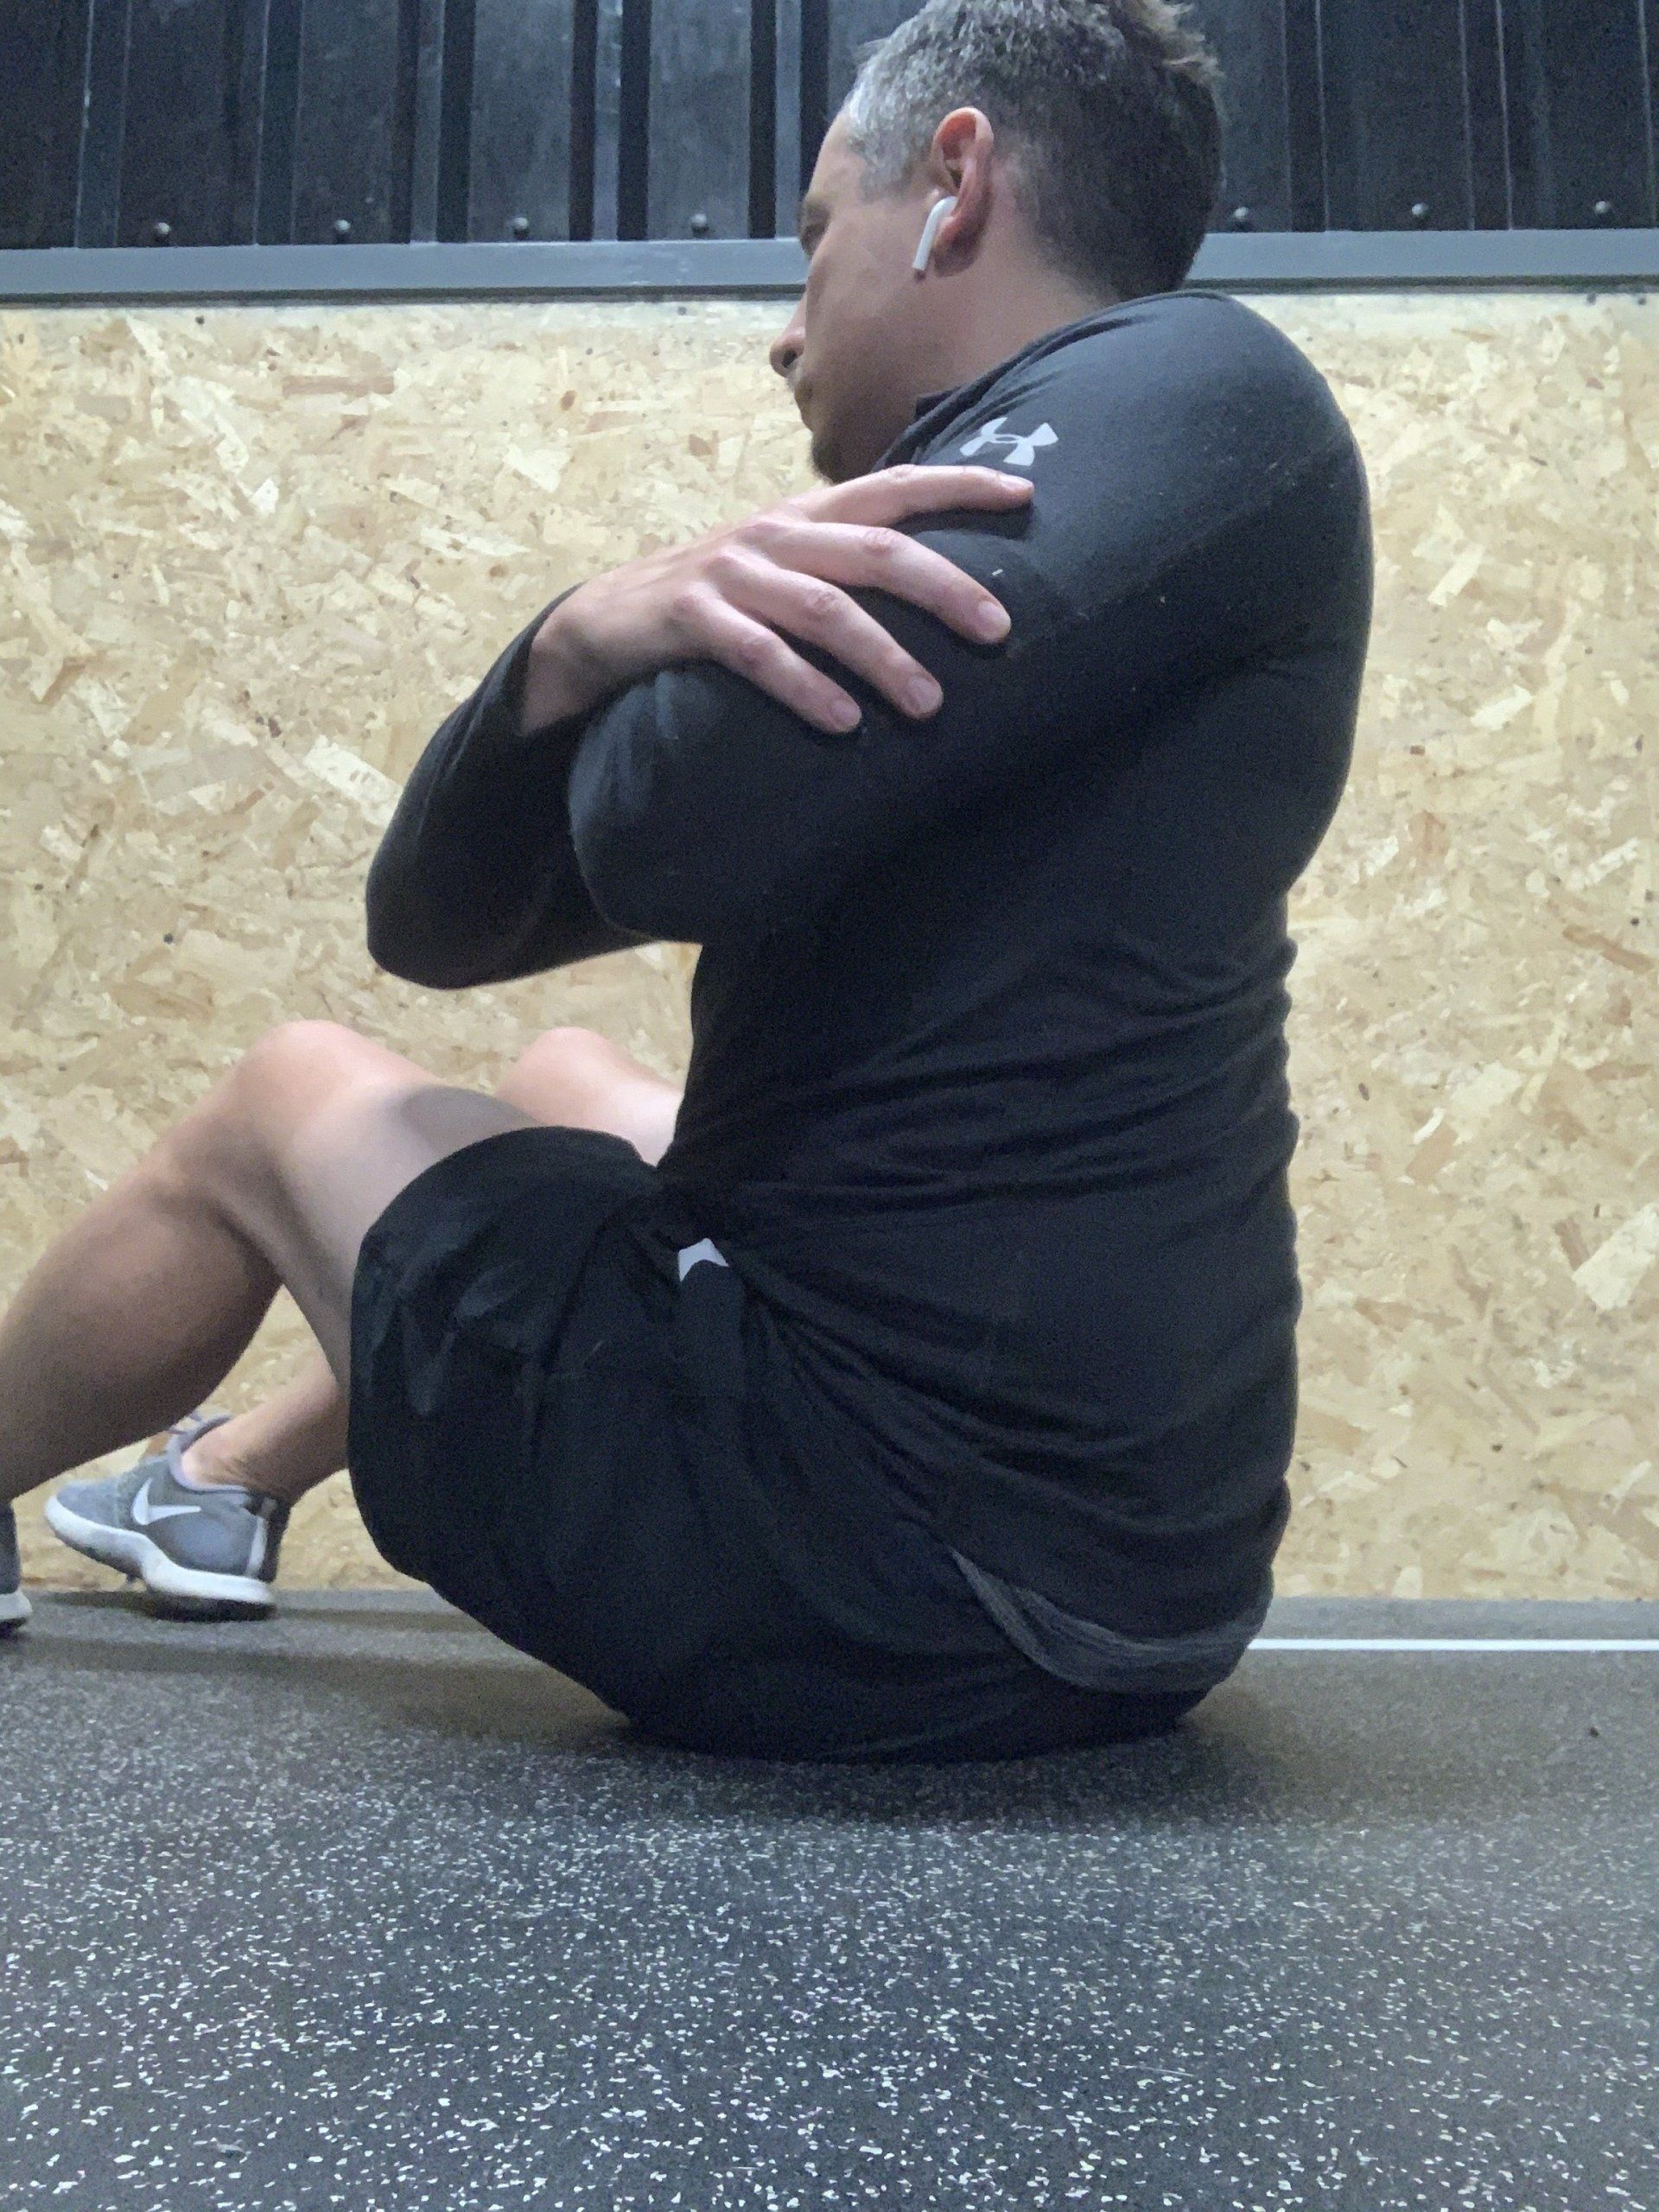
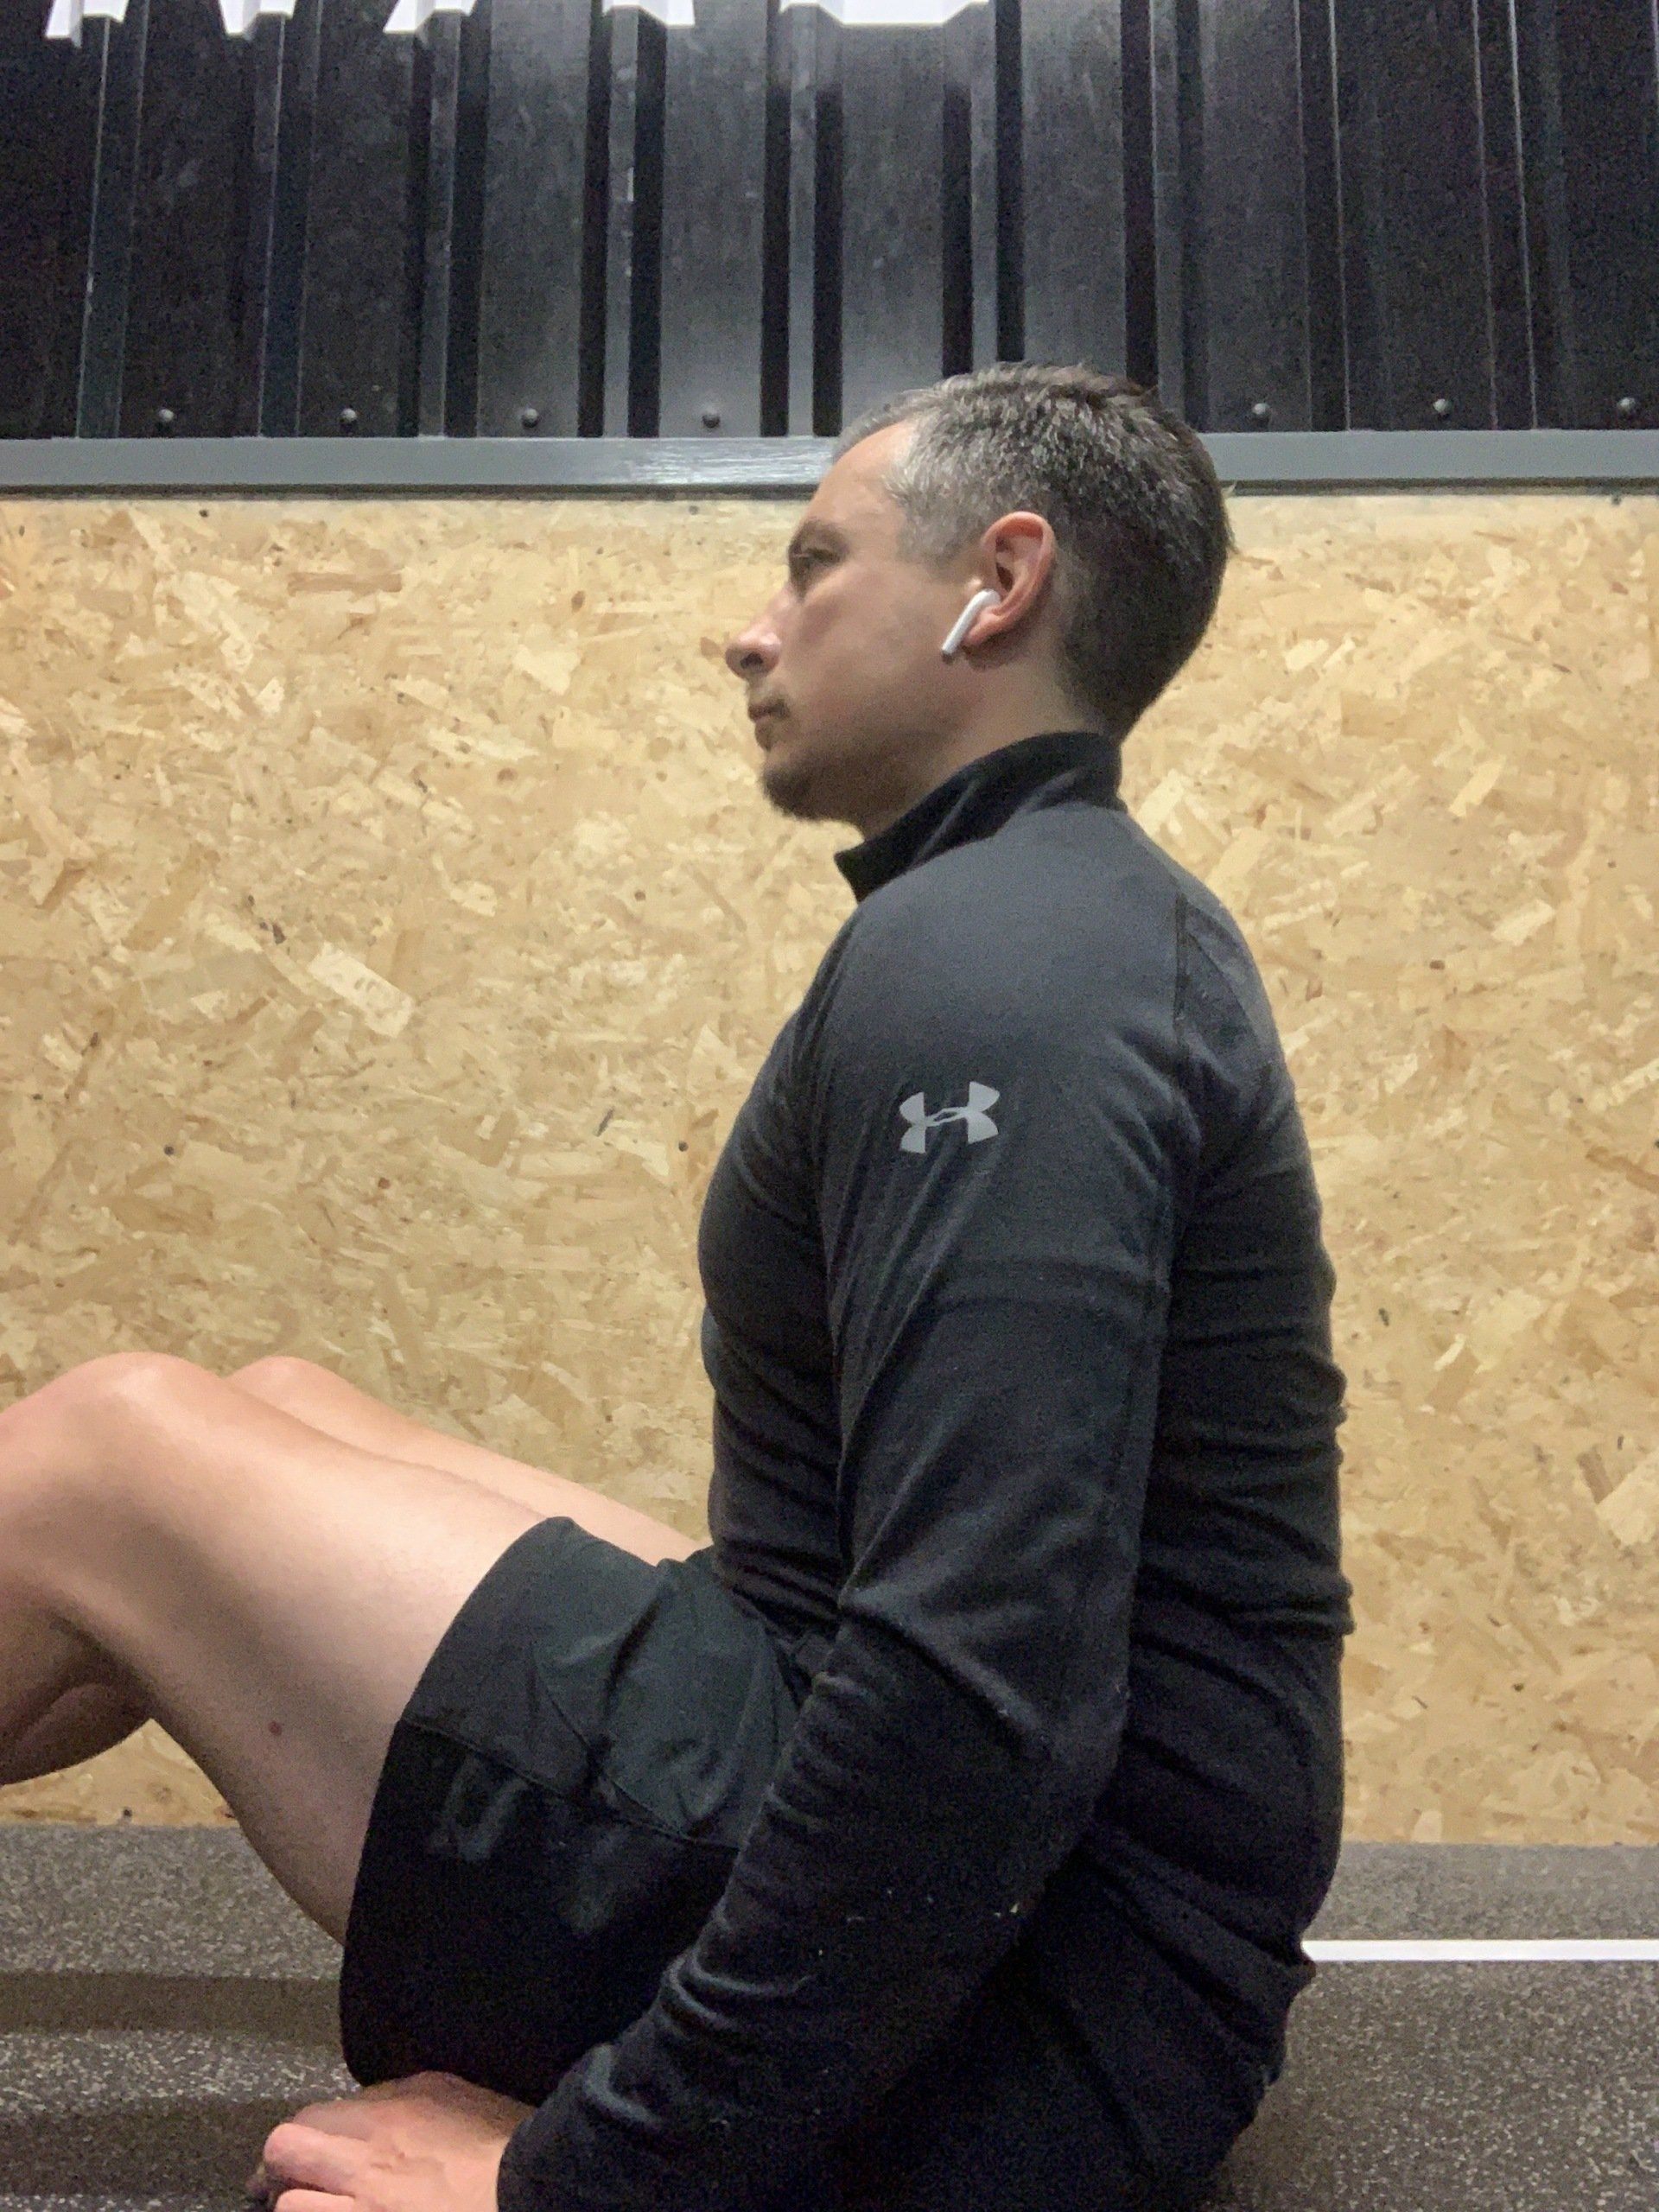
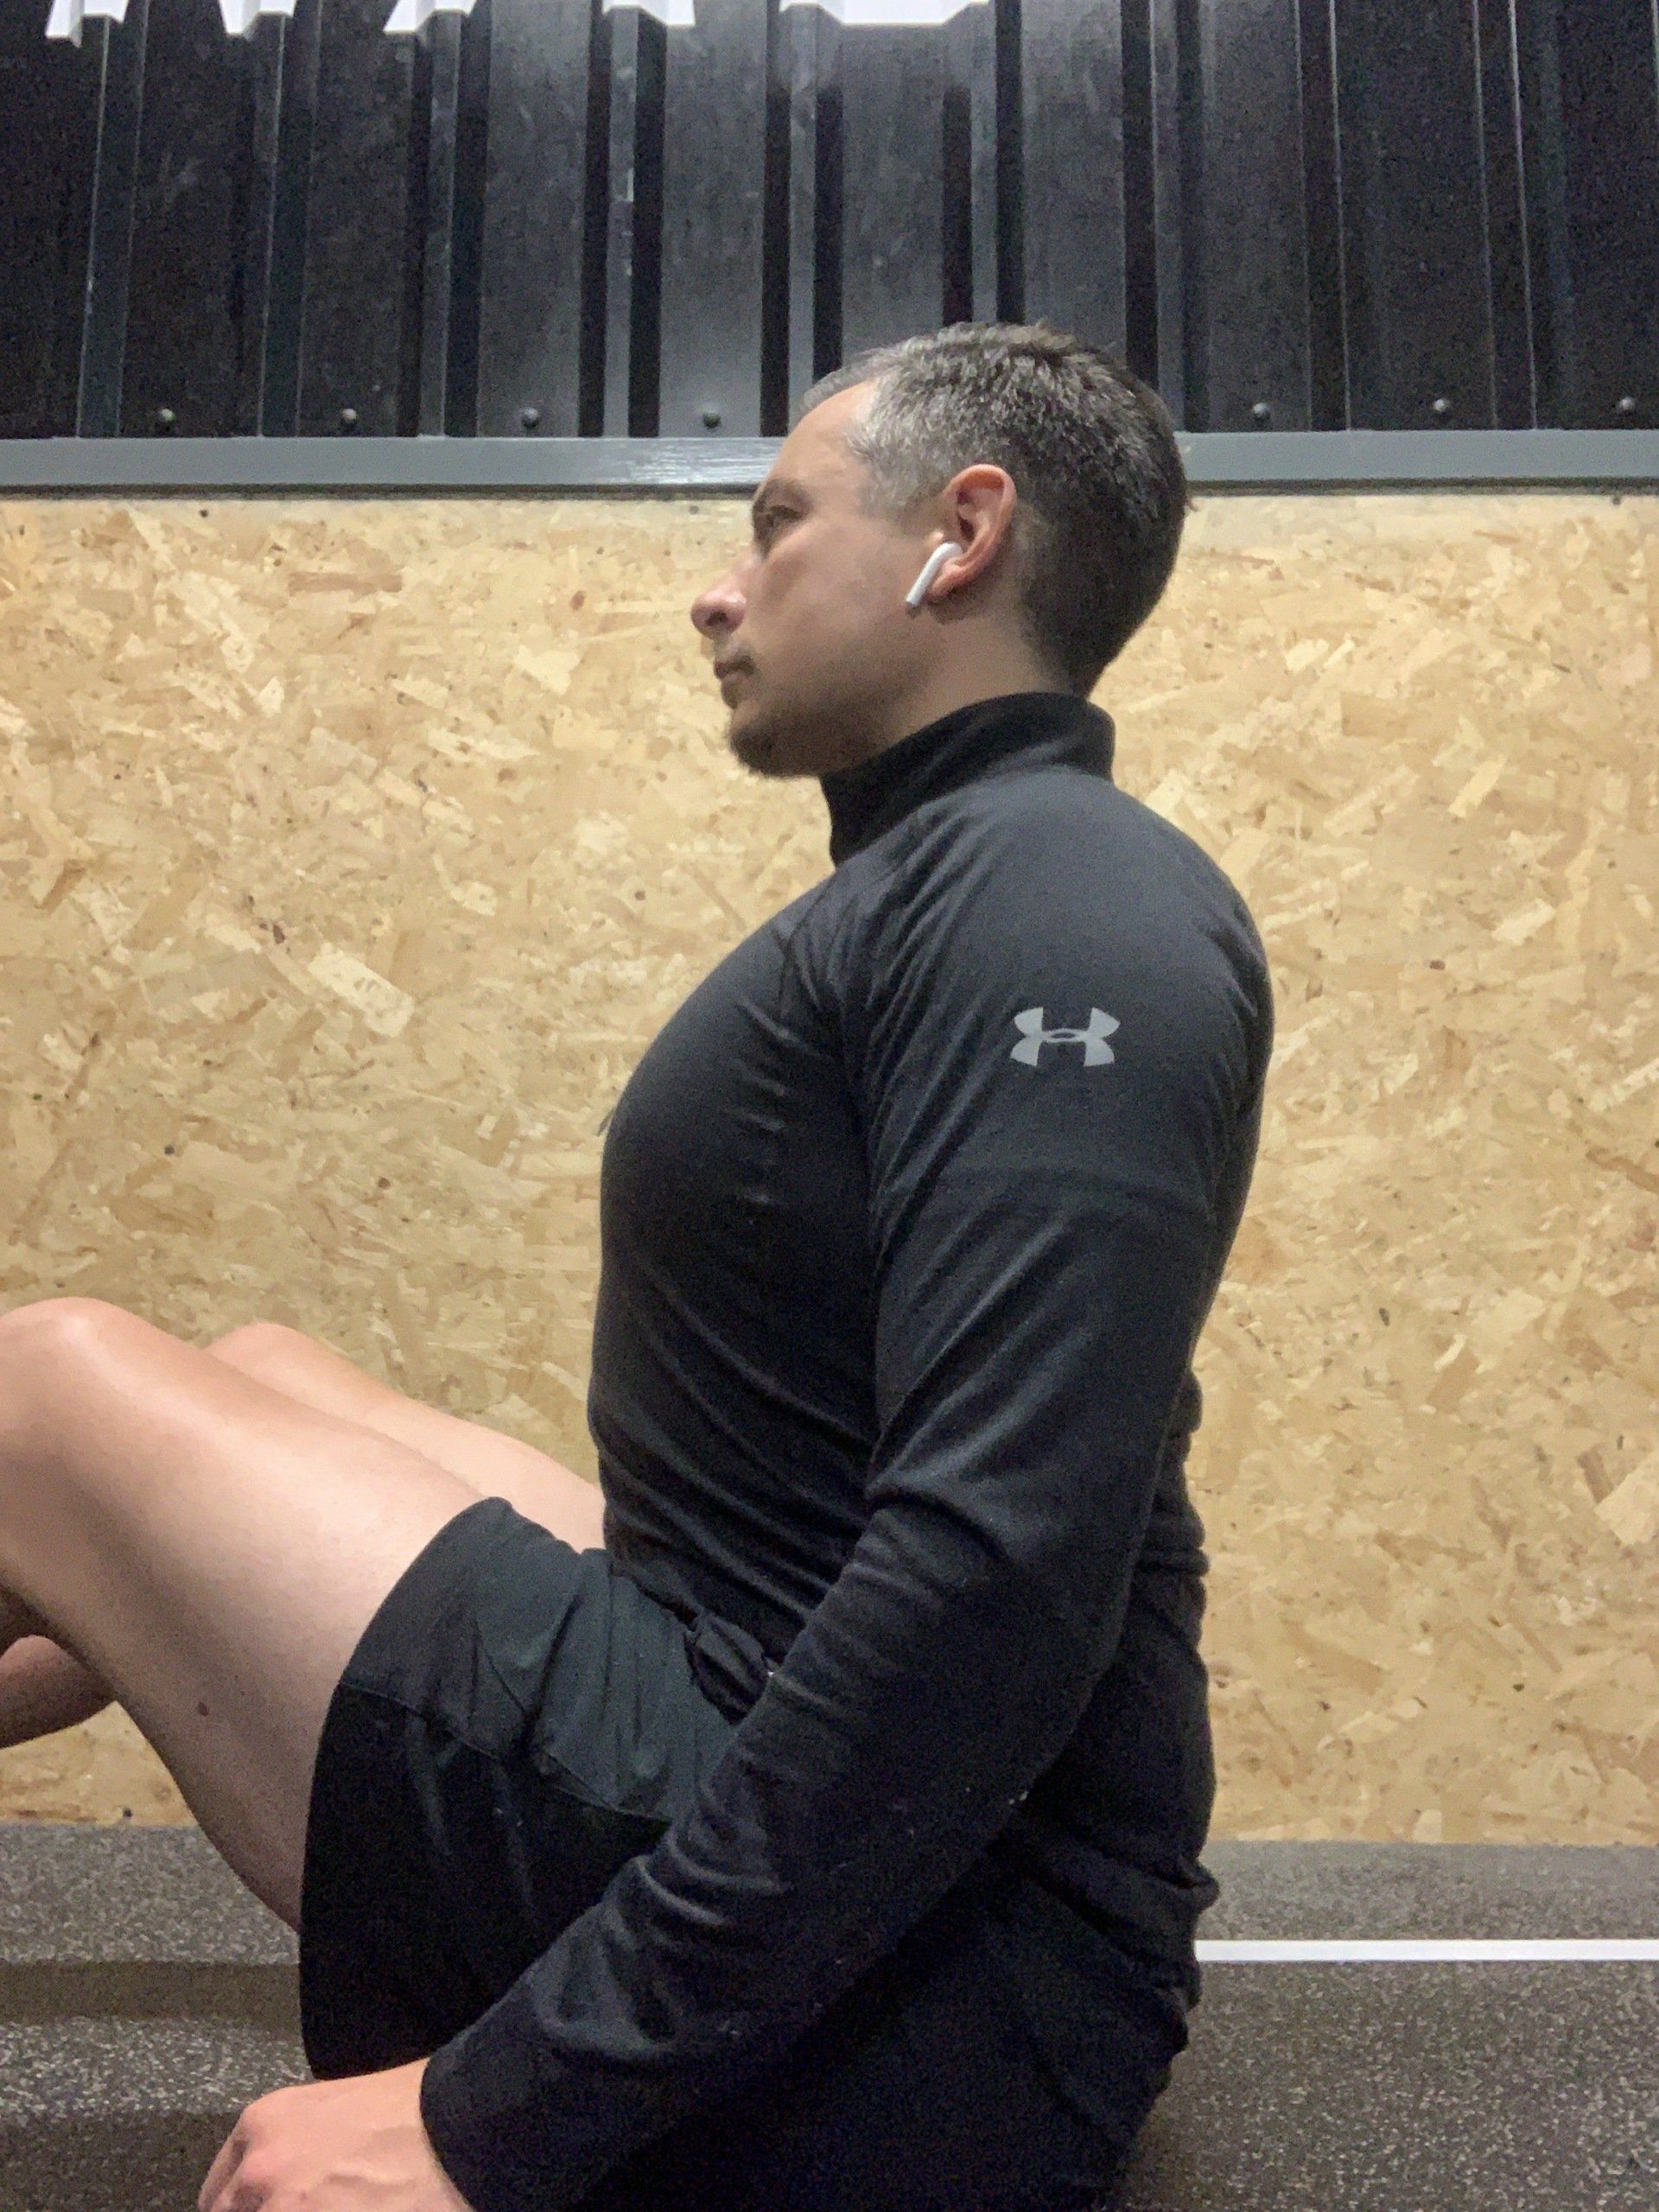
In standing, looking side on to my client, I want to see their ear in alignment with the shoulder. Commonly the shoulder will sit in front of the ear, and in which case, there is probably some investigation to be done around tightness in the pectorals and weakness within the shoulder retractors.
Here’s some diagrams of positioning: The left picture shows rounded shoulders, and the right good posture.
IN SUMMARY:
- Use these pictures to help you investigate your own posture
- Make notes on what you can and can't achieve
- Read the next article in the series to learn about corrective strategies!